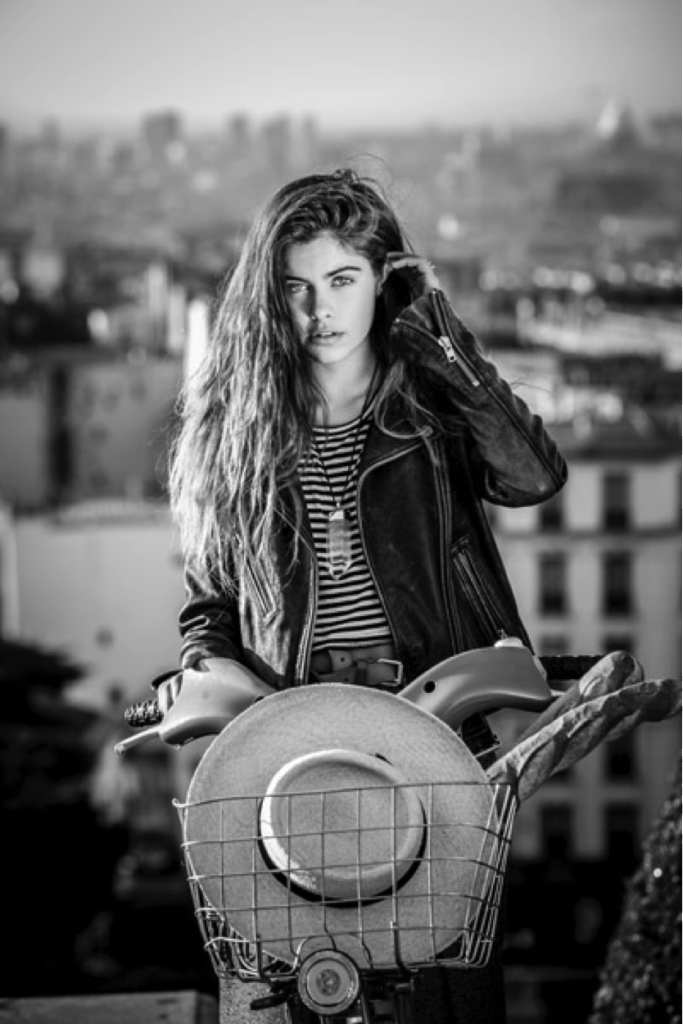
Model Credit: Mimi Elashiry on location, Sacre Coeur, Paris.
Canon 5DMK111
Canon 70-200mm IS L series
ISO 400. F 5.6 @1/125th sec
Last month I had an amazing time photographing Australian model, Mimi Elashiry in Paris for the cover of my fourth book, Portraits After The Shot.
When I’m planning a shoot, I always have a specific image in my minds eye. Paris for me is grainy black and white images like those of one of my photographic Idols, Henri Cartier-Bresson and I really wanted to capture that “old school” feel and look of black and white photography.
For the record, we polished off those baguettes within 15seconds of finishing the shot. Best bread I’ve ever tasted in my entire life
I usually travel with a fair bit of gear and always take some lighting setup with me. It’s usually my Elinchrom Quadra kit or my Canon 580 Ex11 speed lights.
I wanted to be able to move around Paris easily, and quickly and so this meant I needed to keep gear to a minimum.
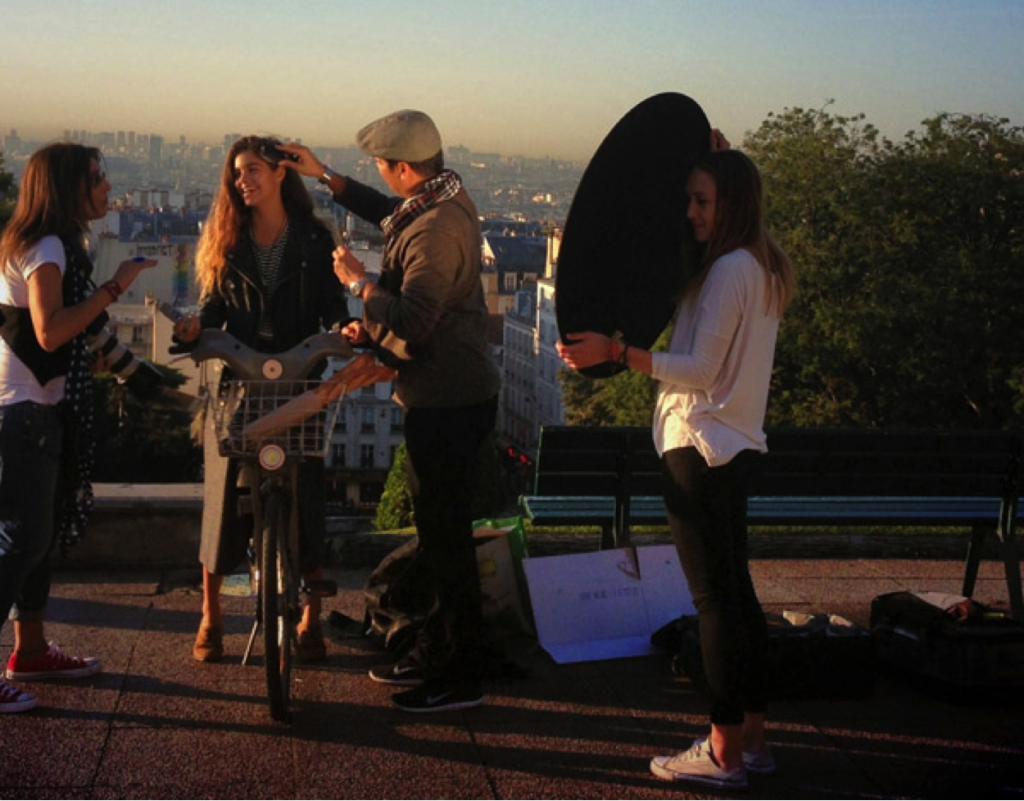
This trip I decided to see if I could go back to shooting “old school” which basically means I worked with available light, a reflector and no tripod.
This setup was at Sacre Coeur at 8.30am. I photographed Mimi in open shade and positioned an assistant with a light reflector at approximately 45 degrees to Mimi’s left side to bounce some light back into Mimi’s face.
I chose to shoot at 8.30am because early morning light is very soft and perfect for fashion and portrait shoots, and I also wanted to avoid the tourists.
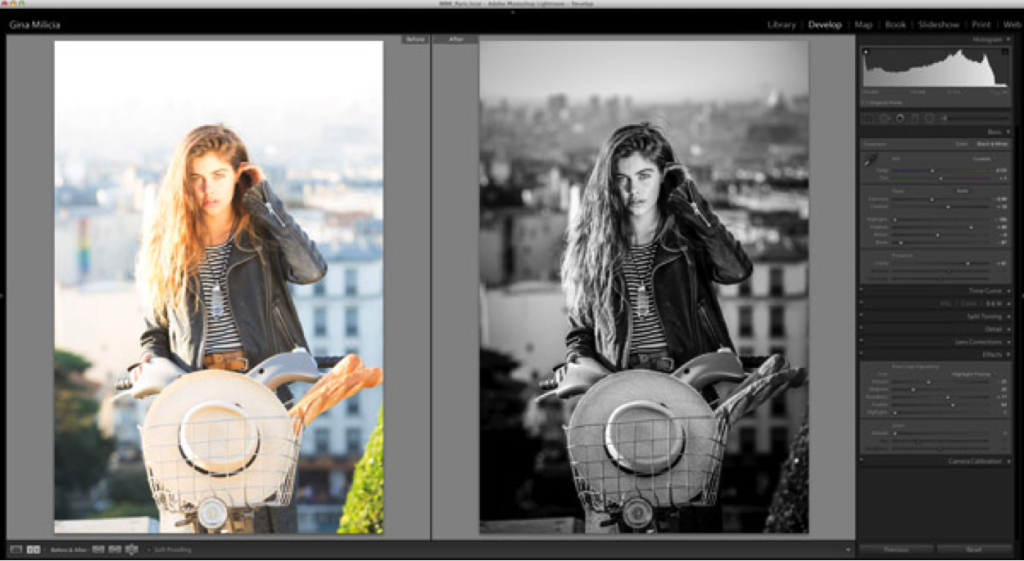
This image has been processed using Lightroom 5 “Basic” setting in the “Develop” module
Here are the settings I used.

- Reduce exposure: I reduced this by 1 stop because my image overall was overexposed.
- Decrease highlights: I wanted to bring back detail in my highlights so I decreased this by 100.
- Convert image to Black and White: To achieve that Cartier-Bresson look that I love.
- Decrease blacks, increase clarity and contrast: I adjusted these settings until I achieved the look I was going for. If you are not a fan of “grunge” don’t use the clarity slider, instead try increasing contrast.
My ideal image has a strong black tone and detail in the highlights. In this instance I’ve allowed the highlights on some buildings in the background to blow out.

