
How to get your white balance right (without the headaches)
Ever noticed that when you set your camera to auto white balance and take photos in places where the light is constantly changing your files can end up looking like a rainbow threw up all over them. Frustrating, right?
Shooting with your camera on auto mode will mean your white balance is adjusted automatically, based on type of light you are shooting in. In fact, most digital cameras have presets to compensate for colorcasts caused by shooting in different settings.
The auto settings are a good start but it’s important to remember that the settings will never be 100% accurate. You can shoot 20 frames and get 20 different white balances depending what kind of lights are in your shot, or the area in the frame that your camera is metering.
If you are shooting an event that goes all day you will end up with hundreds, even thousands, of shots that are all completely different in color *cue rainbow*.
I like my files to be consistent so I keep my white balance at 5200 and correct in post-production BUT as a general rule, set your camera’s white balance to the type of light that dominates the shot.
If you’re shooting in daylight, set your white balance to daylight mode.
If you’re shooting in a studio or stage, where lights are tungsten, set your white balance to tungsten mode
And if you’re ever shooting in fluorescent lighting … run away and don’t look back because this is the ugliest lighting ever. Seriously.
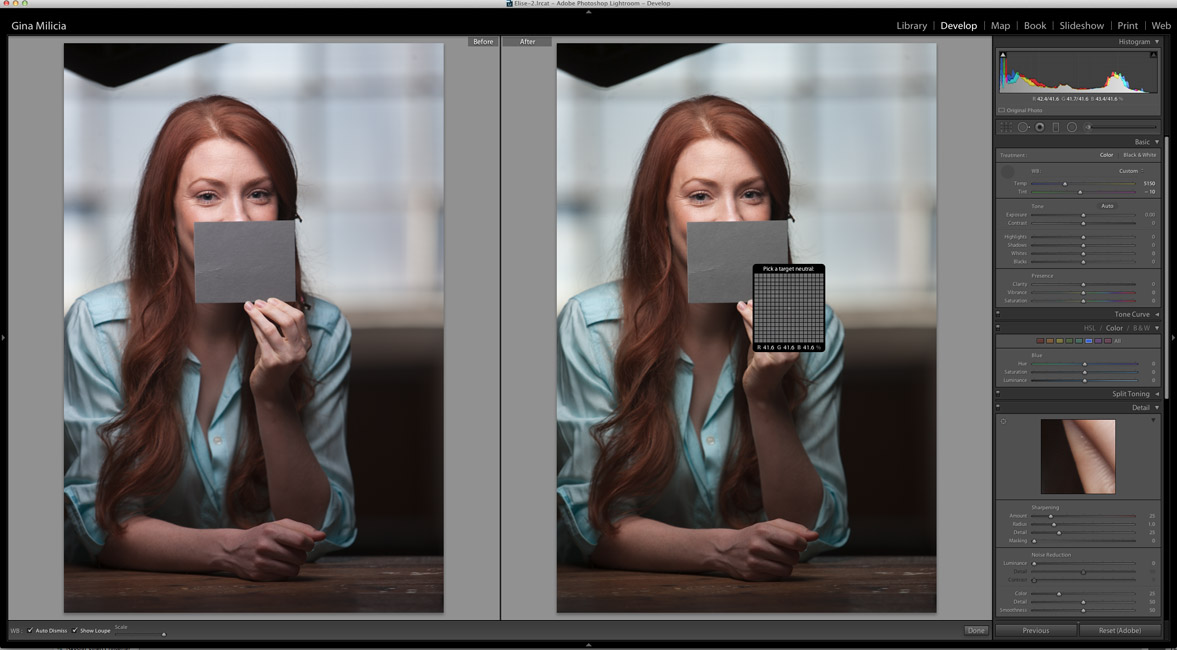
The first rule I have is that I always shoot in RAW. Always. Then, if I’m shooting fashion or advertising, where color is critical, I grey card my shot.
That means that once I get my settings right, I shoot my model with the grey card to get a correct color balance in Lightroom.
 Caption: Greycard
Another fantastic alternative to the grey card is a grey card app you can download to your smart phone. This is really handy and means I’ll never forget to bring my grey card on a shoot because my phone is always with me!
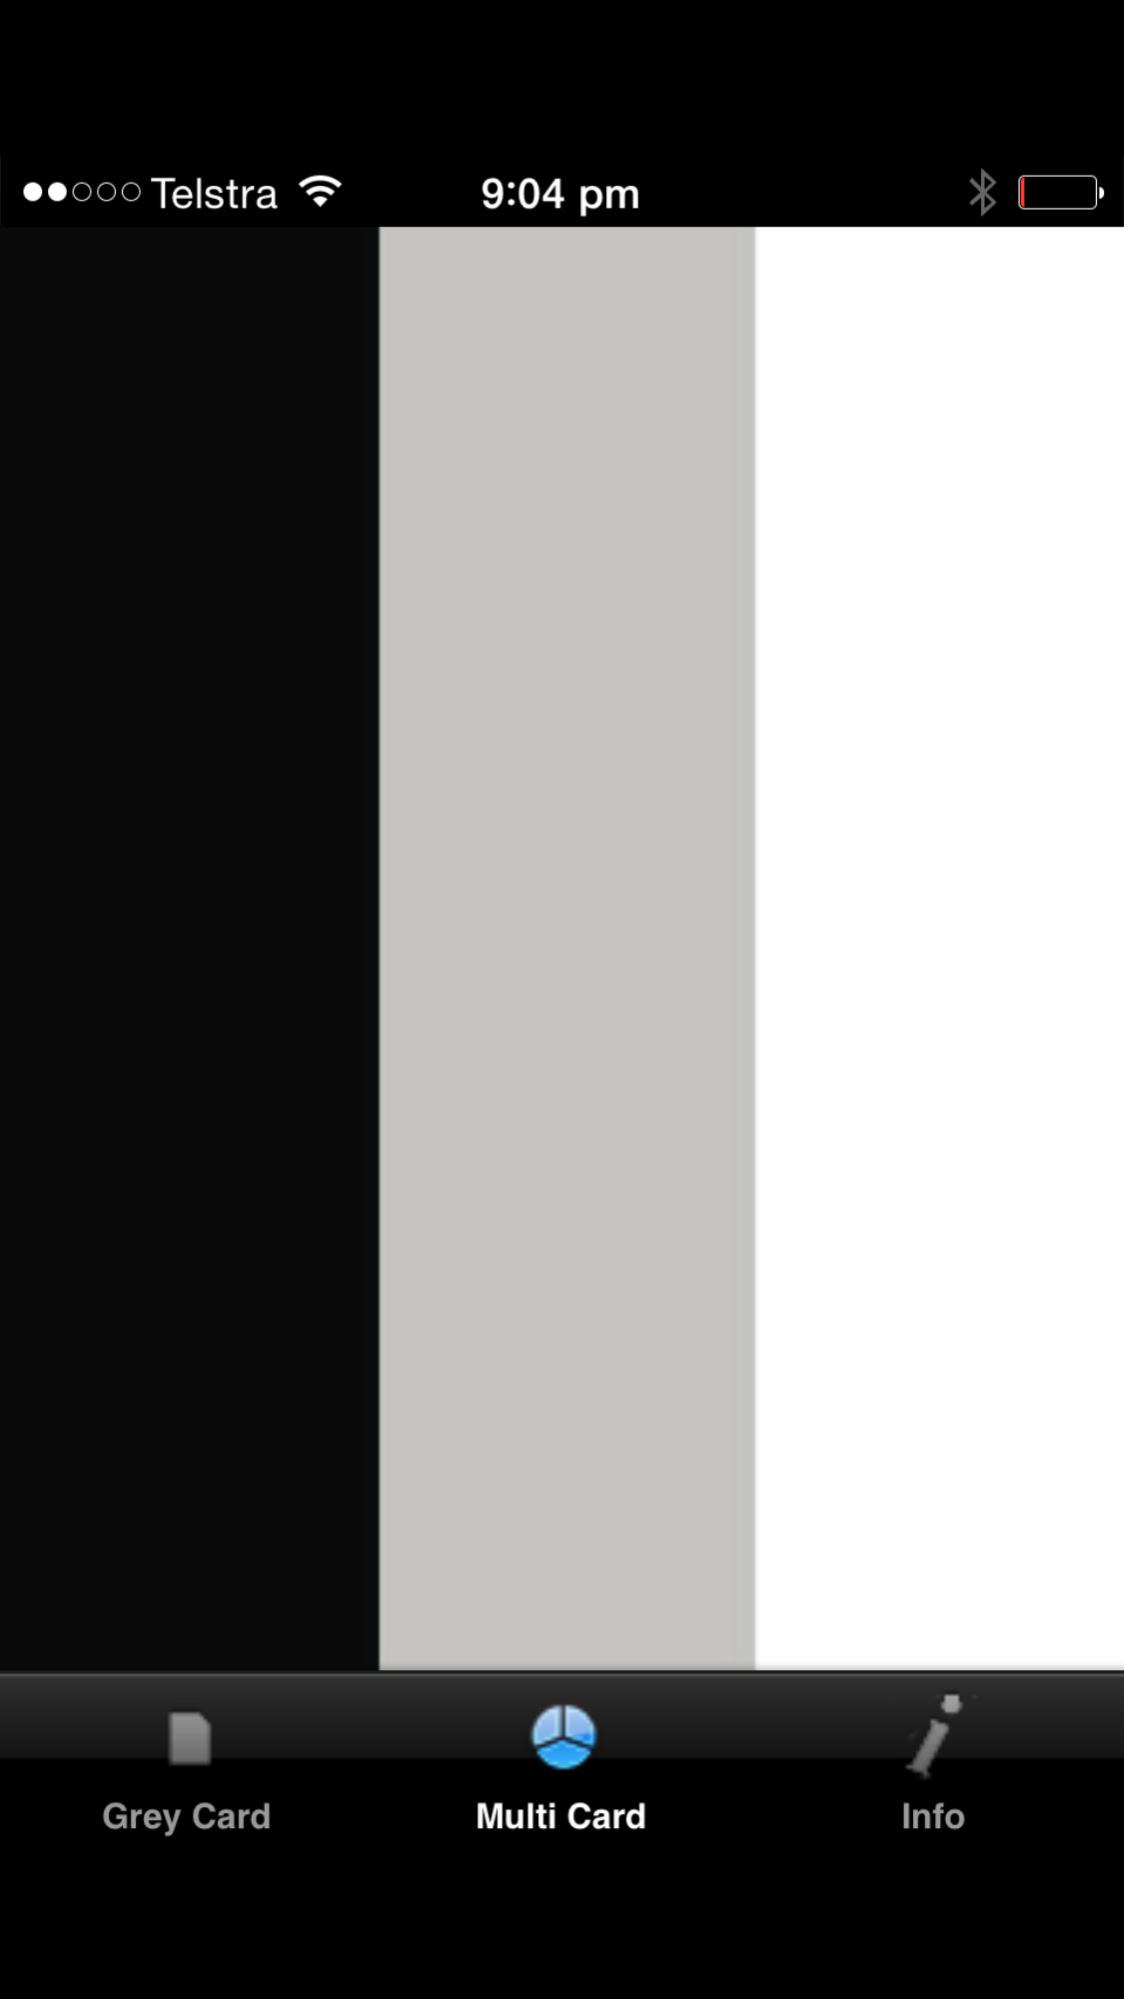 Caption: Smart phone grey card
During post-production, I upload all my images to Adobe Photoshop LightroomTM.
In the Develop Module, I select the eye-dropper tool (the white balance selector), click and drag it onto my grey card. Lightroom will automatically convert your image to a neutral tone.
If you have time, take a quick shot with your model holding a grey card as it will help you achieve a perfect white balance during post-production.


[…] There are a few ways adjust the white balance. The most accurate way is to use a grey card. […]