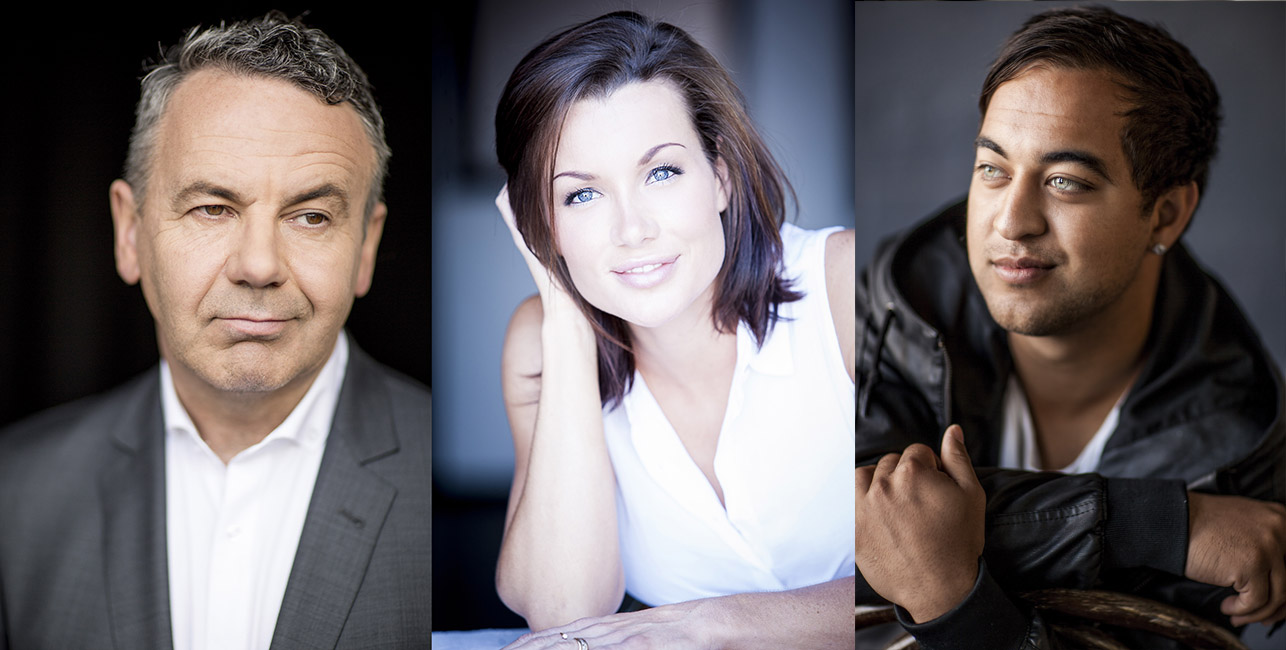
L-R Michael Veitch, Samara Alana, Chris Sebastian
I’ve got a confession to make: I used to think shooting portraits with only daylight was cheating. Seriously. I believed that all great portraits needed to be lit with flash otherwise they were just snapshots.
Pros used flash, daylight was for amateurs. All my portrait sessions were lit with flash. Main light, fill light, hair light, background light. I used every tool in my toolkit because the more lights, I used the better the shot. Right? Boy, was I wrong on this one!
I was such a gearophile-tech-head that I never even bothered to notice what the daylight was doing. I wanted to manufacture my own light just like McDonalds manufactures its own burgers. My shots were like a Big Mac. They were consistent, reliable, and over-processed.
And they left me feeling empty.
It wasn’t until one of my flashes misfired that I really started to notice just how beautiful daylight could be. It had always been there on every shoot right under my nose but I was too obsessed with everything looking perfect. I was afraid of using daylight because I thought it was weak and too unpredictable.
The beauty of daylight
The more I work with daylight the more I realise that it’s the unpredictability that makes it so appealing. I now relish the idea of never knowing exactly what to expect and the excitement of a new experience every time I shoot.
I now know that mastering daylight is a skill and those who master it are rewarded with incredible images. A perfect example of this is Leysis Quesada, the Cuban photographer I worked with on a recent trip to Havana. She told me it’s almost impossible to get decent flash equipment in Cuba because the cost is so prohibitive and it’s so difficult to get any imports. The Cuban photographers have not let this stop them. They are masters of natural light and are always on the lookout for great natural light. Their images are incredible.
There are are still many occasions where I love working with flash but I don’t always go for the Big Mac as my first choice. Here are my top 5 tips for working with natural light.
1. Make finding great light a priority over a great location.
The best location in the world will only make an average shot if the lighting is poor. The worst location in the world can still look awesome with the right lighting. I’ve photographed some of my favourite portraits in gritty alleyways next to dumpsters, under stairwells or in pokey junk-filled rooms.
2. Avoid shooting outside in the caca zone
The caca zone (“caca” is the technical term for sh*t) is shooting outside in bright sunlight between the hours of 11am till about 2pm when the sun is high in the sky. Shooting at high noon with the sun directly overhead is a nightmare to shoot in. First, the angle of the sun causes very harsh shadows and, second, bright sunlight causes most people to squint so you end up with squinty racoon eyes. No offence to any racoons who may be reading this.
When I find myself in this situation – and moving into the shade is not an option – I can either
pray a cloud will show up to block the sun. This can be great if you know how to coax the cloud to stay in position long enough for you to get your shot. Unfortunately, this is usually a very rare event and not particularly reliable.
The next option is to soften the light with a diffuser, which works really well but means you always need to have an assistant or use a light stand to hold the diffuser (which is a real pain if it’s a windy day). This is still a huge improvement on racoon eyes lighting. But what if I told you there is a way to shoot with daylight during this time that creates the most incredible daylight ever? *cue epic movie soundtrack*
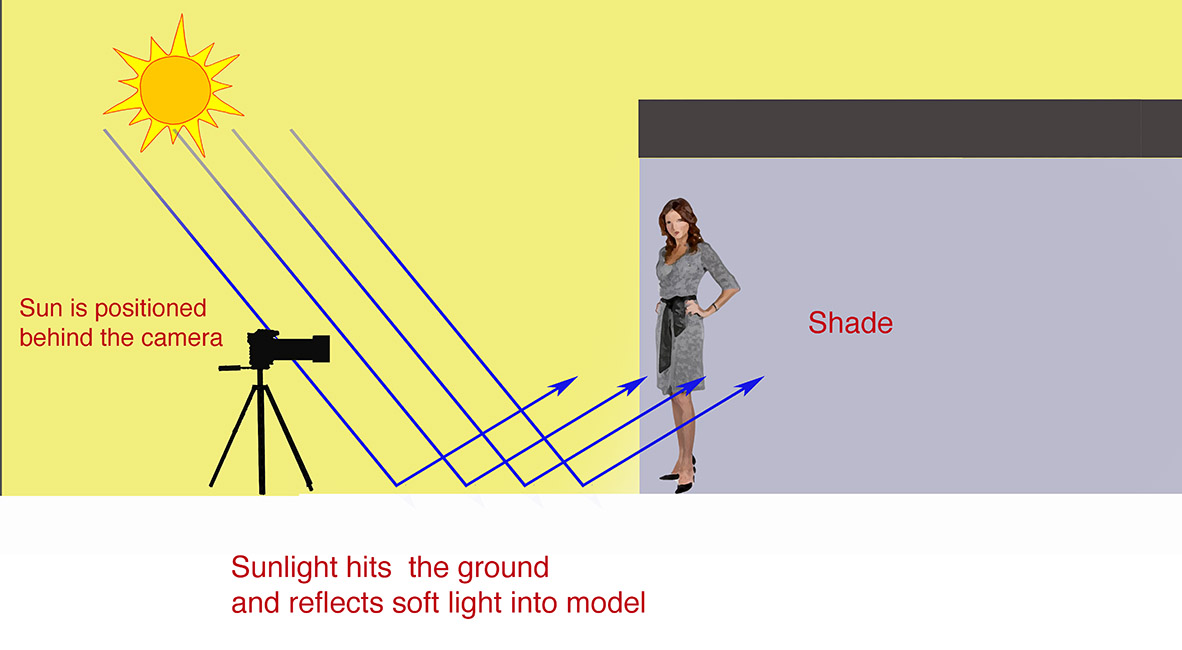
3. Position your models in shaded areas so that you have the sun behind you
If I was ever going to judge a contest for the best natural lighting in the world, then this style of lighting would win by a mile. It’s soft, flattering, looks like it was created in a studio and – get this – it works best during the caca zone of 11am-2pm.
Here’s a step by step guide to recreate this lighting:
- Find a location that is shaded like a doorway, garage entrance, gazebo, or awning.
- Position your model so they are just on the edge of the shade but make sure there is no sunlight hitting their face.
- Position yourself so the sun is behind you.
- The sun will hit the ground and reflect soft light back into your model.
- Neutral colours like soft grey, earth tones, sand and white work best. Try and avoid areas that have coloured tiles or green painted concrete (I’m looking at you Uncle Mario). Carry a white sheet in your car or camera bag to throw on the ground to cover Uncle Mario’s green concrete. Just make sure you grab an old sheet and don’t do what my son did and use my brand new Egyptian cotton sheets!
- Take a meter reading from the skin tone.
- Shoot on the widest aperture your lens will allow and always focus on the eyes. This will create a shallow depth of field which means the background will be out of focus. The wider the aperture, the greater your background will be out of focus. If you want to create a really blurry background choose a longer lens and set it to it’s widest aperture. If you want to learn more about how to create blurry backgrounds, check out episode 28 of my podcast So you want to be a photographer, which I co-host with Valerie Khoo.
So the greatest most awesome natural light in the world is truly amazing but what happens if it’s raining, snowing or cloudy? That’s when I go to plan B!
4. Shoot indoors using soft window light
Window light is perfect for portraits because it creates a really soft flattering light. The larger the windows the softer the light and window light will also create really interesting and beautiful catch lights in the eyes.
Here is my guide to working with window light:
- The larger the light source, the softer the light will be and the bigger the catch lights, so look for big windows.
- If there is harsh sunlight coming through the windows you can use a diffuser panel to soften the light or buy some ripstop nylon or sail cloth to hang over the window and you have an instant DIY softbox! You can buy ripstop nylon at a sewing supply or online for about $3 per metre.
- For super soft and flat beauty lighting position the camera so the windows are directly behind you.
- If you want to create a modifier looking portrait, position the camera so the window is side on to your model.
- If you want to create softer, flatter lighting move your model closer to the window.
- For harder light with more contrast move your model further away from the window.
5. Use the biggest soft box in the world
Overcast days can be perfect for lighting portraits. Light cloud cover works like a giant softbox covering the sun and creates beautiful soft even lighting perfect for portraits.
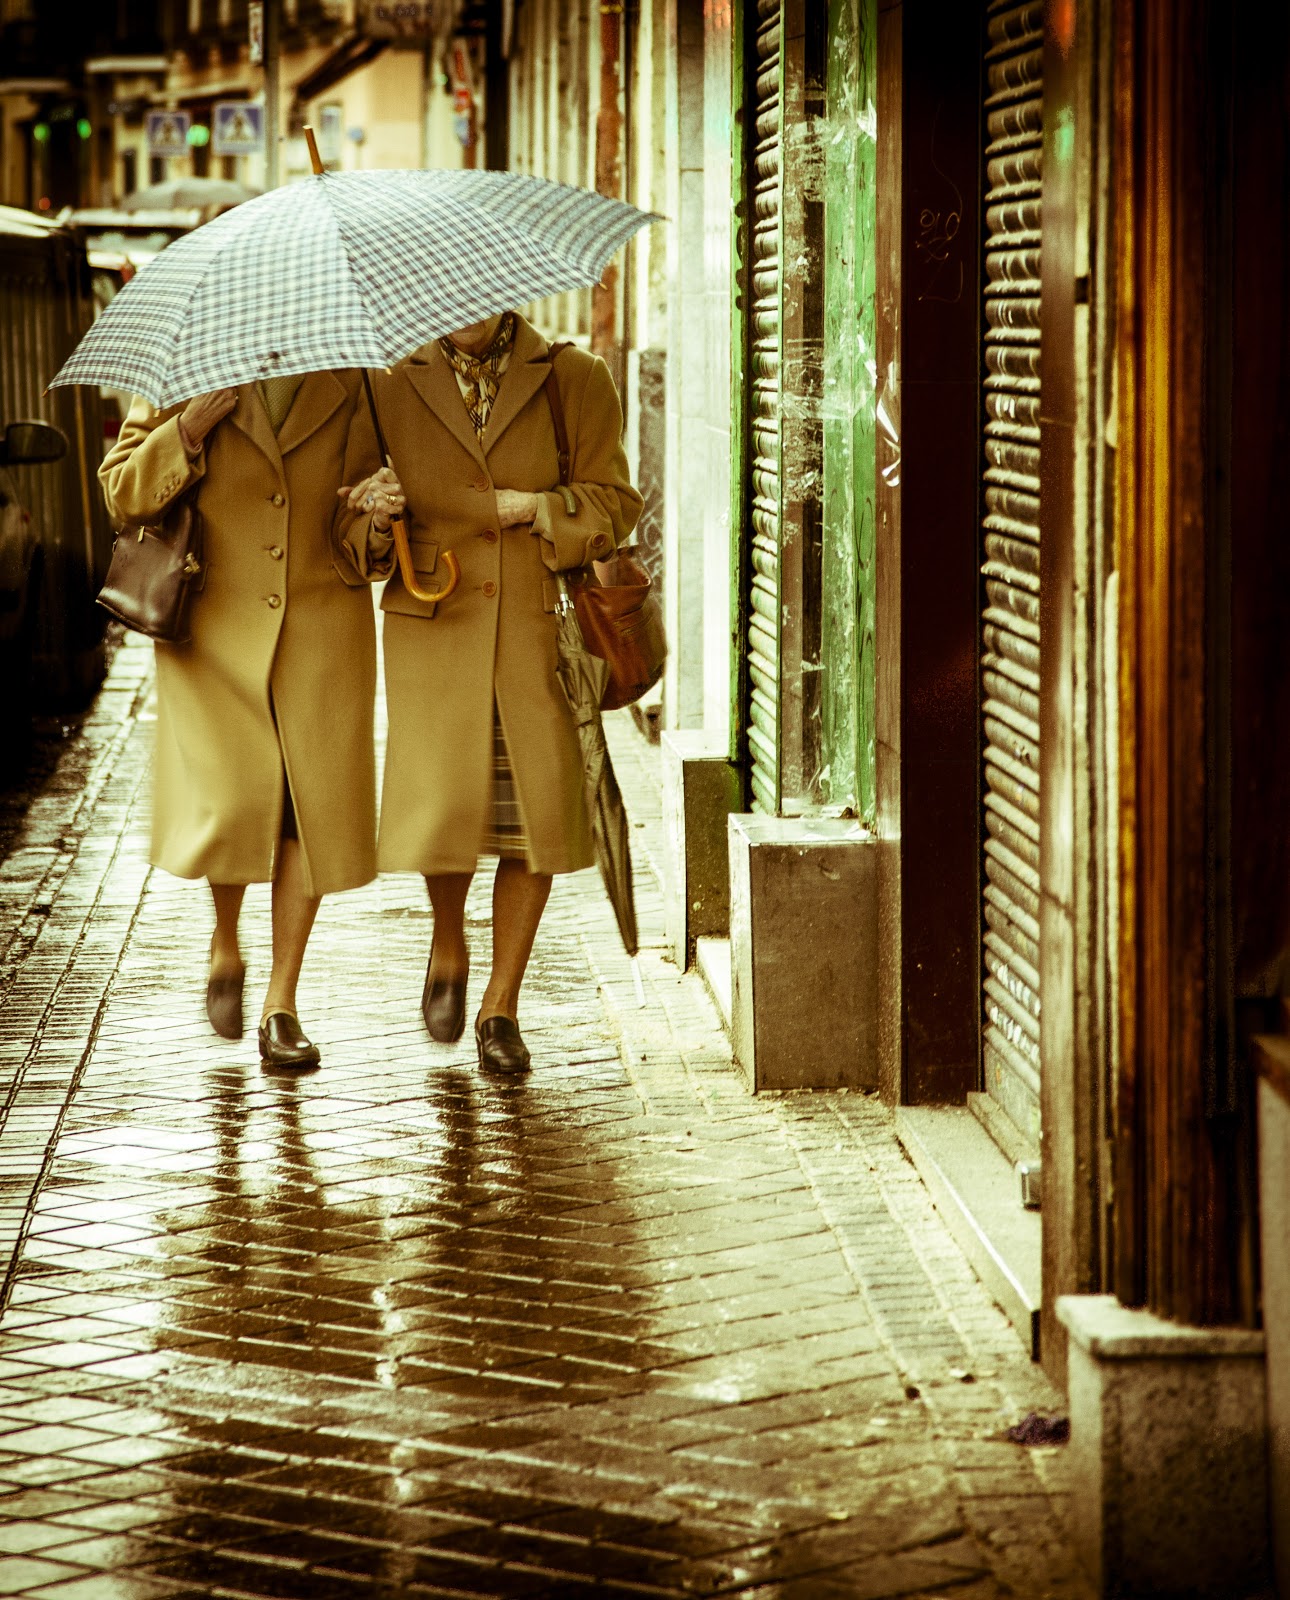
I also love shooting just after it’s rained because the reflections add a whole other dimension to my portraits.
What’s your go to natural light portrait setup? I’d love to hear about it.

