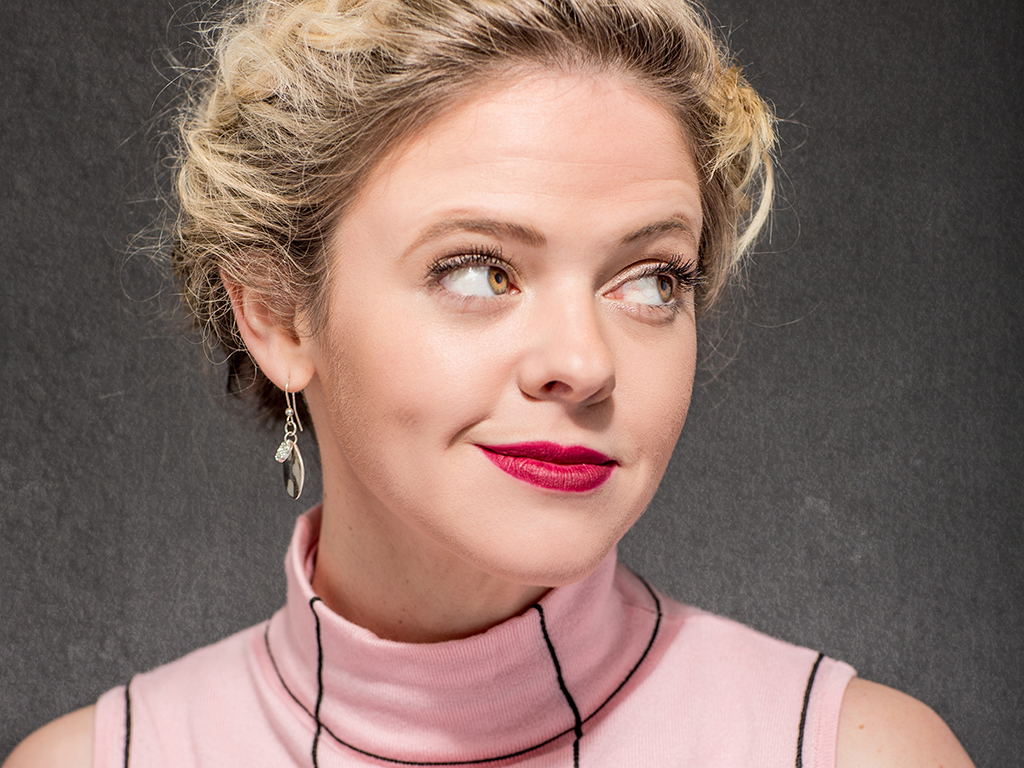
Above: I photographed Tegan Higginbotham for a promo shoot for Foxtel Australia’s new show “Whose Line Is It Anyway” using a beauty dish and white reflector.
“A man can eat an elephant if need be, one bite at a time.” – Chinese proverb
Have you ever wondered how the guy who got the contract to build The Great Wall of China must have felt when he first found out he got the gig? I imagine he was sitting at home on a Wednesday night watching Real Housewives of New York when he got the message (handwritten on a beautiful gold embossed scroll).
Dear Dave,
Your quote to build The Great Wall has been approved, please report to work on 21st April, 770 BC.
Regards,
Tony
Great Wall Inc.
Or something along those lines…
Now Dave could easily have been overwhelmed by this task. There are approximately 3,873,000,000 bricks in The Great Wall. I know I would have freaked out a little if it were me. Luckily Dave (not his real name) was a wise man and understood the secret to getting BIG things done is to break them down into smaller manageable chunks.
Dave knew that focusing on the enormity of the task ahead would end up overwhelming him. Instead he broke the job into stages.
Step 1. Scope out the location
Step 2. Plan the look
Step 3. Lay the foundations
Step 4. Add the bricks, one at a time
Step 5. Check the levels
Step 6. Rinse and repeat
The technique Dave used to build The Great Wall is pretty much the same way I approach all my portrait shoots.
Step 1. Scope out the location
The first step to creating a great portrait shot is looking for a good location that compliments the person I’m photographing. A good location shouldn’t overpower your model.
Step 2. Plan the look
Next I plan how I want my shot to look. This is the stage where I think about and test out poses, lighting and composition. I try and have my exposure, lighting and frame worked out at this stage so that when the person I’m photographing steps in front of the camera, I’m ready to go.
I see many photographers working this out while their model is standing in front of them. The downside of this is the person you are photographing may not understand just how much work goes into getting a great shot (and starts to doubt your abilities) because the last time they were photographed by Aunty Glenda, she got the shot in three frames.
Step 3. Lay the foundations
The foundations of a great portrait shoot are built by developing a strong connection and rapport. This starts the minute the person you are photographing arrives. I like to spend as much time connecting with my model as I do photographing them. This often involves 5-10 minutes of casual banter. Your model is going to feel vulnerable no matter how experienced they are. A warm hello, noticing how cool their shoes are or chatting about who won last night’s game can go a long way and help to establish a connection.
Step 4. Add the bricks, one at a time
When it’s time to shoot, build your shot one step at a time.
– them up in the pose
– check the lighting looks good on their face
– work with them to get the right expression
Step 5. Check the levels
Once you’re happy with the overall look of the shot, it’s time to check the little details. Are your verticals straight? Is the composition right? Clothes looking good? What about the hair?
Step 6. Rinse and repeat
If I’m photographing the same person in different locations I will go back to Step 1 and repeat the process.
So the next time you have a shoot, try out Dave’s technique and break it down brick-by-brick, step-by-step and get a great shot – or build an awesome wall!


