HDR photography can save your bacon. But, sometimes, it’s been given a bad rap. However, this simple technique can transform your images and get you out of difficult situations where you have high contrasting elements.
In this episode, Gina and Valerie discuss when you should use HDR photography, the exact steps you need to take to make it happen, how you can “cheat” in post-production if you forget to bracket when you’re shooting – and much more. Great for both newbies and pros.
Hope you enjoy the podcast.
Sign up to the newsletter for great tips and free Lightroom presets.
Join the dynamic Gold Membership in our Community which delivers monthly tutorials, live mastermind and lots of behind the scenes videos into the creative process.
#ginachallenge #HDRRRRRRRRR
Click play to listen to the podcast or find it on iTunes here. If you don’t use iTunes you can get the feed here, or listen to us on Stitcher radio.
Show notes
What is HDR?
- HDR stands for High Dynamic Range.
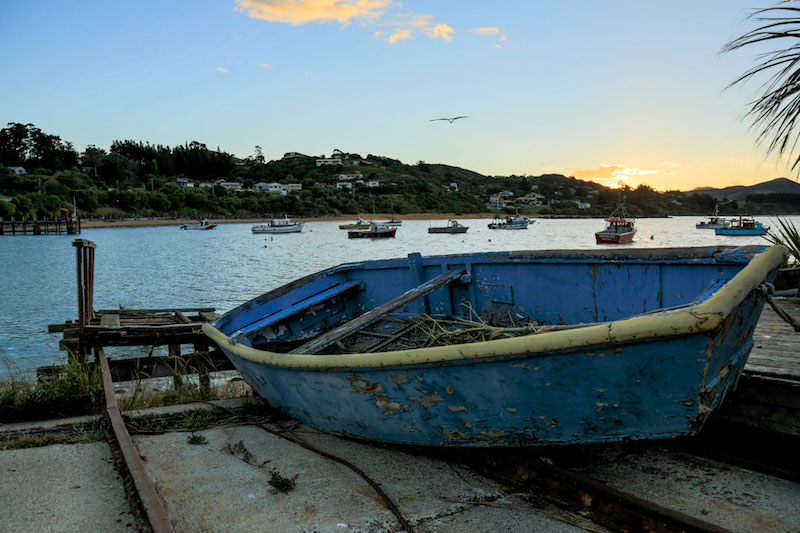
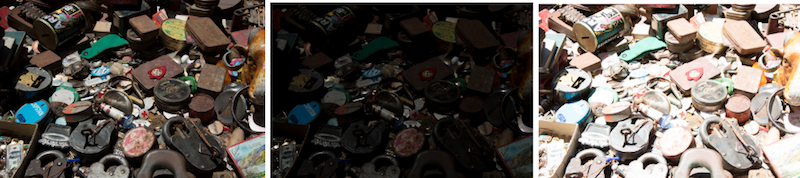
- HDR is a technique where numerous exposures of a scene are taken.
- Correct, overexposed and underexposed and merged together to create an image with high dynamic range.
- Blend many photos together to get maximum detail in shadows and detail in highlights
- Basically, in daylight, the human eye can see much greater tonal range and detail than the camera can record.
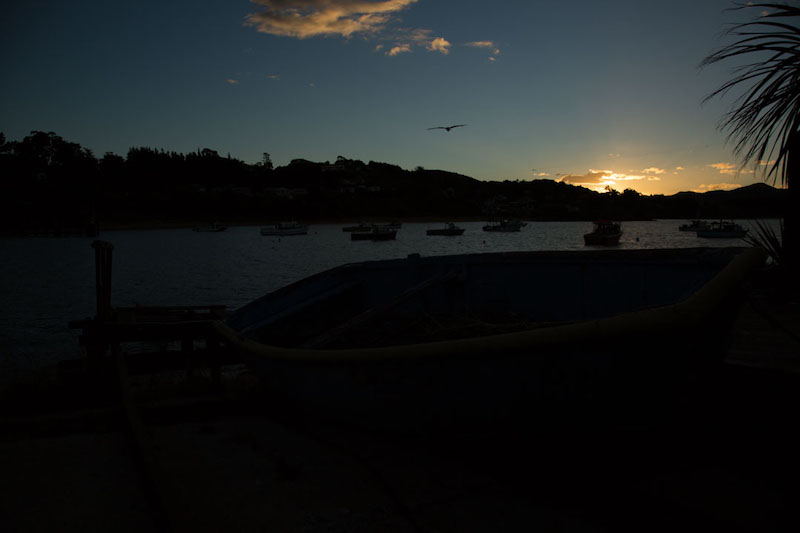
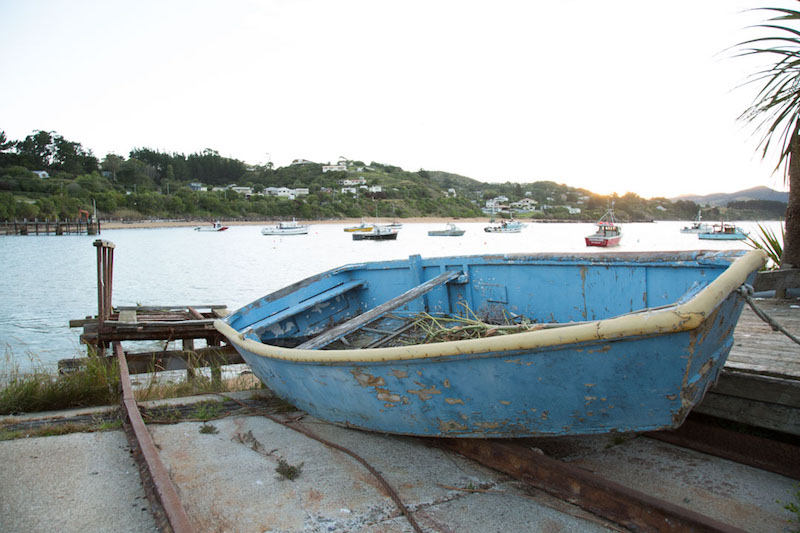
- The problem with this is in extremely high contrast lighting it’s very difficult to achieve detail in highlights and detail in shadows.
- As a general rule if we expose our image for detail in the highlights it usually means the shadow detail will be lost and if we expose for the shadows the highlights end up overexposed.
I could use fill flash but it’s difficult to do this for large landscapes. Imagine if you could light an entire mountain??
So, the next best thing is to either split the difference and shoot an average of both scenes OR merge the best bits of both and create a HDR High Dynamic range image.
HDR has been around for years now and many photographers and purists don’t like it because early on it was overdone and looked oversaturated and cartoonish.
I believe it it’s used well and conservatively it can create beautiful images that actually look like the image we saw.
There is less of a disconnect in these images than a photo composite that will always look NQR.
Equipment needed
- DSLR
- Smartphone
- Tripod (not essential) but helps
- Delayed timer to stop camera shake
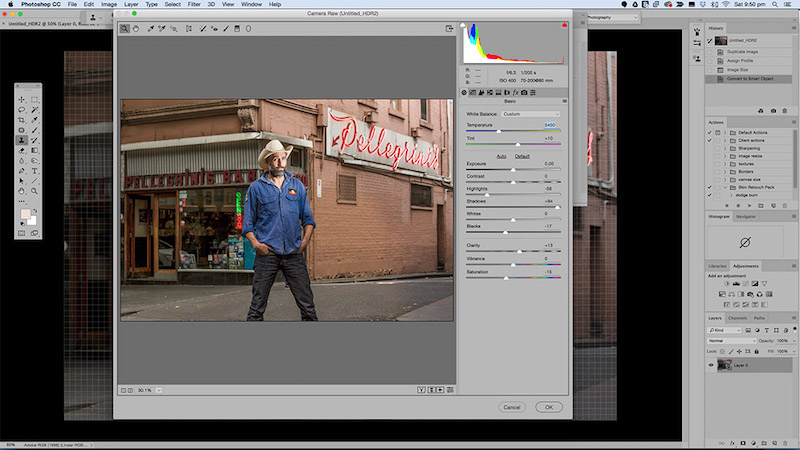
- Photoshop/Lightroom
- Turn auto-focus off
- Weigh tripod down if it’s a windy day
- Don’t photograph moving objects like trees
Camera Settings
- Some camera will expose automatically, make you a coffee and rub your shoulders while you wait.
- Others will make you take each image manually and critique your style and shoes in between frames.
- Some are a combo of both.
- Get out your camera manual
- Find AEB Auto exposure bracketing
- AEB is where the camera will take 1 image 1 stop over the exposure you select and 1 image that is 1 stop under the correct exposure
- The camera does this in very quick succession in a burst
- Some cameras allow you to broaden the range of images to 3 stops under-exposed and 3 stops over exposed of 7 images
- All cameras are different
- NIKON may have a button marked BKT’
- Canon AEB in menu
- This can be set at ⅓ stop to 2 or 3 stops over and under the correct exposure
- Shoot Raw
- To bracket, don’t change your aperture or it will affect the depth of field in each shot. Instead, adjust shutter speed or ISO.
- Meter in Matrix mode (average exposure)
- Start with O -1 +1 Works well in most situations
- -2 -1 0 +1 +2 will give a wider tonal range
- The greater the contrast in your image the wider you need to bracket
- If you haven’t got your head around manual mode yet start with aperture priority mode.
- Set the camera timer to shoot with a 2sec delay to avoid camera shake
- Switch to manual focus so your camera isn’t searching for focus while it’s shooting.
How to create HDR
- In camera
- Using editing software like photoshop or lightroom or Photomatix
- Manually (the best way) Exposure blending (This is the most time-consuming way but gives the best results)
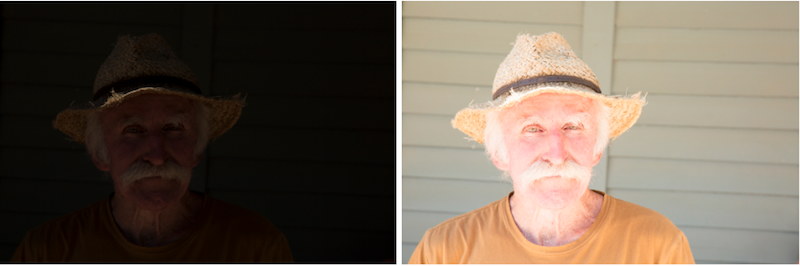
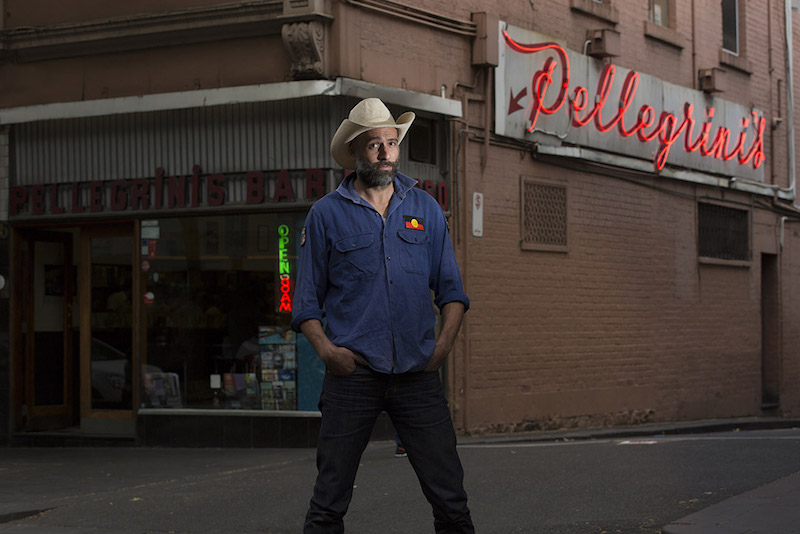
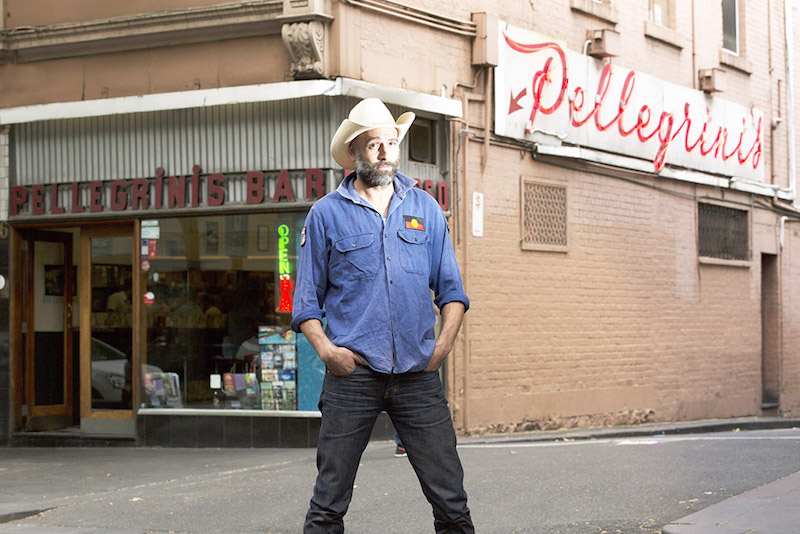
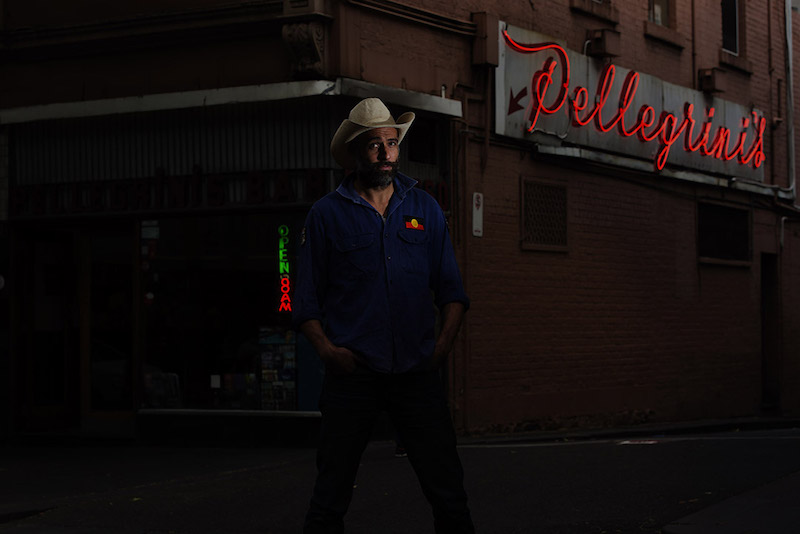
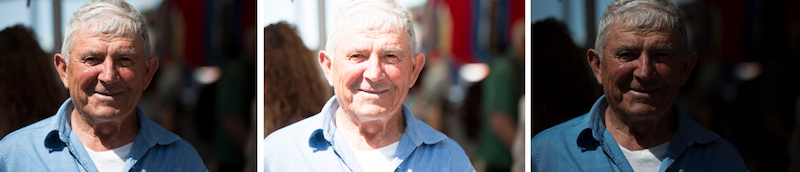
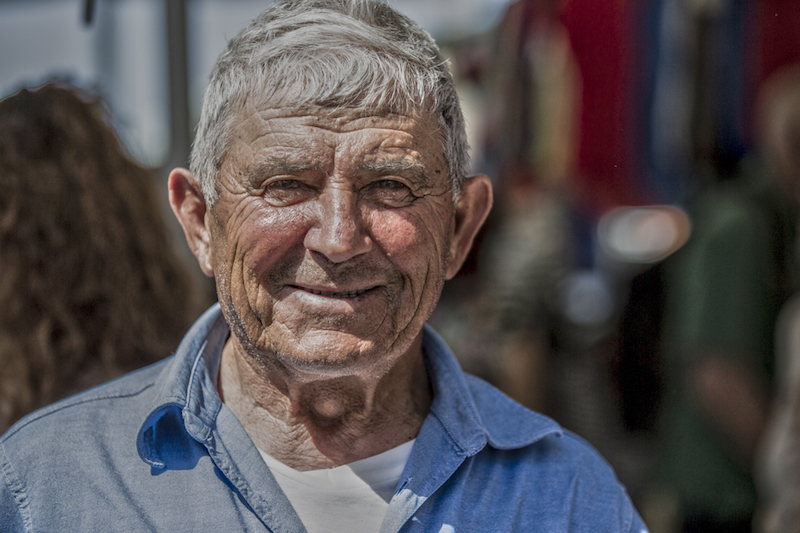
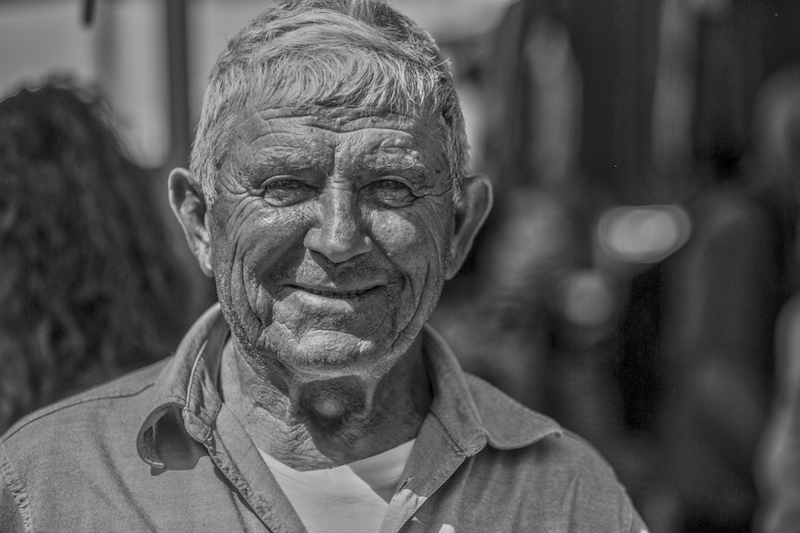
Portrait image photographed using daylight (handheld)
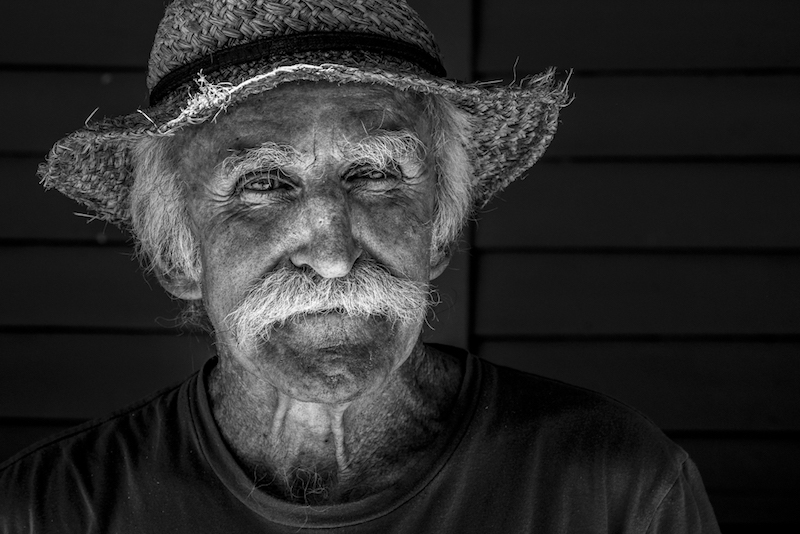
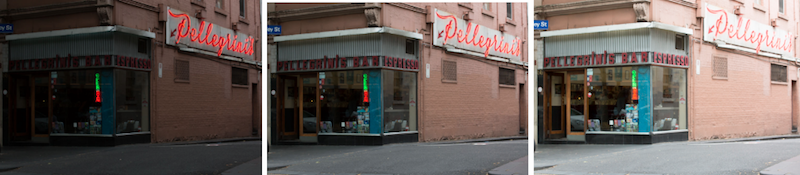
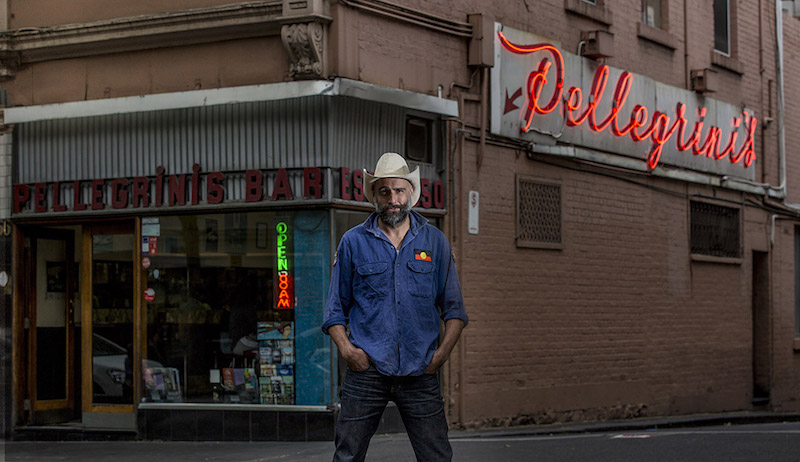

Single exposure HDR
#ginachallenge #HDRRRRRRRRRR

