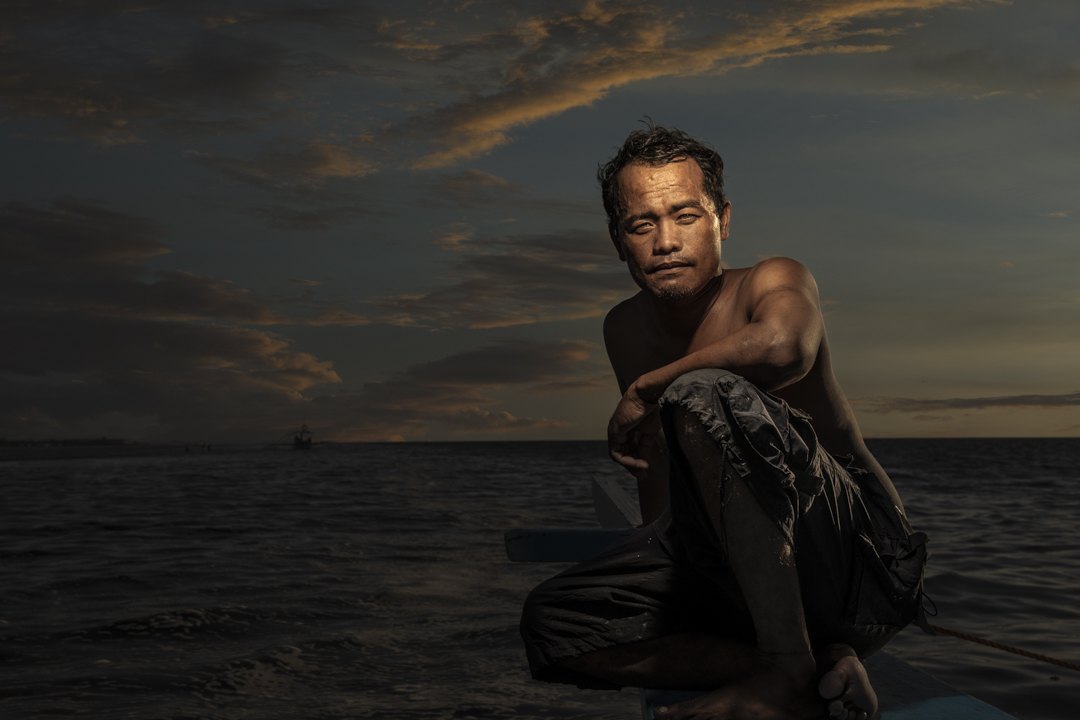
Above: Image by Gina Milicia
“When fishermen can’t go to sea, they mend their nets.”
During the first few years I was building my photography business, I worked as a cook in an Italian restaurant at night. When you train to become a cook, you master a task before you are allowed to move on to the next one. The first task each apprentice cook must master is peeling potatoes. Then they move on to the salads, entrees, pasta, steaks, and seafood. The last thing I was taught to cook was the most technically difficult dish, the souffle.
Many photographers buy their first camera and then attempt complicated studio shoots. This is just like the apprentice cook who walks into a kitchen and insists on cooking a souffle on their first day.
Taking a stepped approach to learning will take your photography to the next level much faster than trying to learn it all at once. Many photographers will try complicated shooting or lighting styles, and then become frustrated or discouraged because their images are not working out the way they had hoped.
If you have the luxury of some extra time during this extraordinary moment in history, then lower your expectations and get back to basics. Following the “peeling potato protocol” has been a game changer for many of my Gold Community members. My students vary in skill level from absolute beginners to working professionals with 10+ years of experience. The thing I love most is how quickly they learn to control lighting, composition and editing.
Give it a try, you’ll be amazed how quickly your photography will improve.
Here are a few suggestions to start you off.
Lighting
Use a superhero doll, styrofoam head or warm prop if you have access to one.
- Place your model/styrofoam head 2m in front of a window
- Position yourself and your camera (with the window at your back) 0-1m from your model. You will need to be closer if using a shorter focal length 50mm or less and further away if using a longer focal length
- Fill the frame. This means you’ll need to move the focus point, so it’s over the eye
- Notice how the flat directional light fills in lines and is very flattering
- Experiment with focal length and work on filling the frame
- Experiment with the crop. Try a closeup detail of the eyes and notice the catchlights
- Take note of the time of day and experiment with different times of the day. Notice the difference in light quality
- Next, keep the model in the same position and move the camera, so it is adjacent to the window. This will create side lighting
- If you want to increase the amount of contrast, move your model closer to the window
- If you’re going to decrease the amount of contrast, move your model further away from the window.
- Now try using reflectors to fill the shadow side of your image. Notice what happens when you do this
- NEXT LEVEL SUGGESTIONS try to create Rembrandt lighting by blocking out the bottom two-thirds of the window with a black card. The goal here is to create a light source that is above your model and at a 45-degree angle
- More experienced photographers, try and replicate this lighting using continuous lighting or flash.
The most important thing to remember is that these drills are not about creating the perfect image. These drills are designed to learn a specific technique.
Invest a minimum of 15-20 mins a day on these simple drills, and you’ll be cooking souffle in no time at all!
Check out my free podcast for more self-isolation photography tips.

