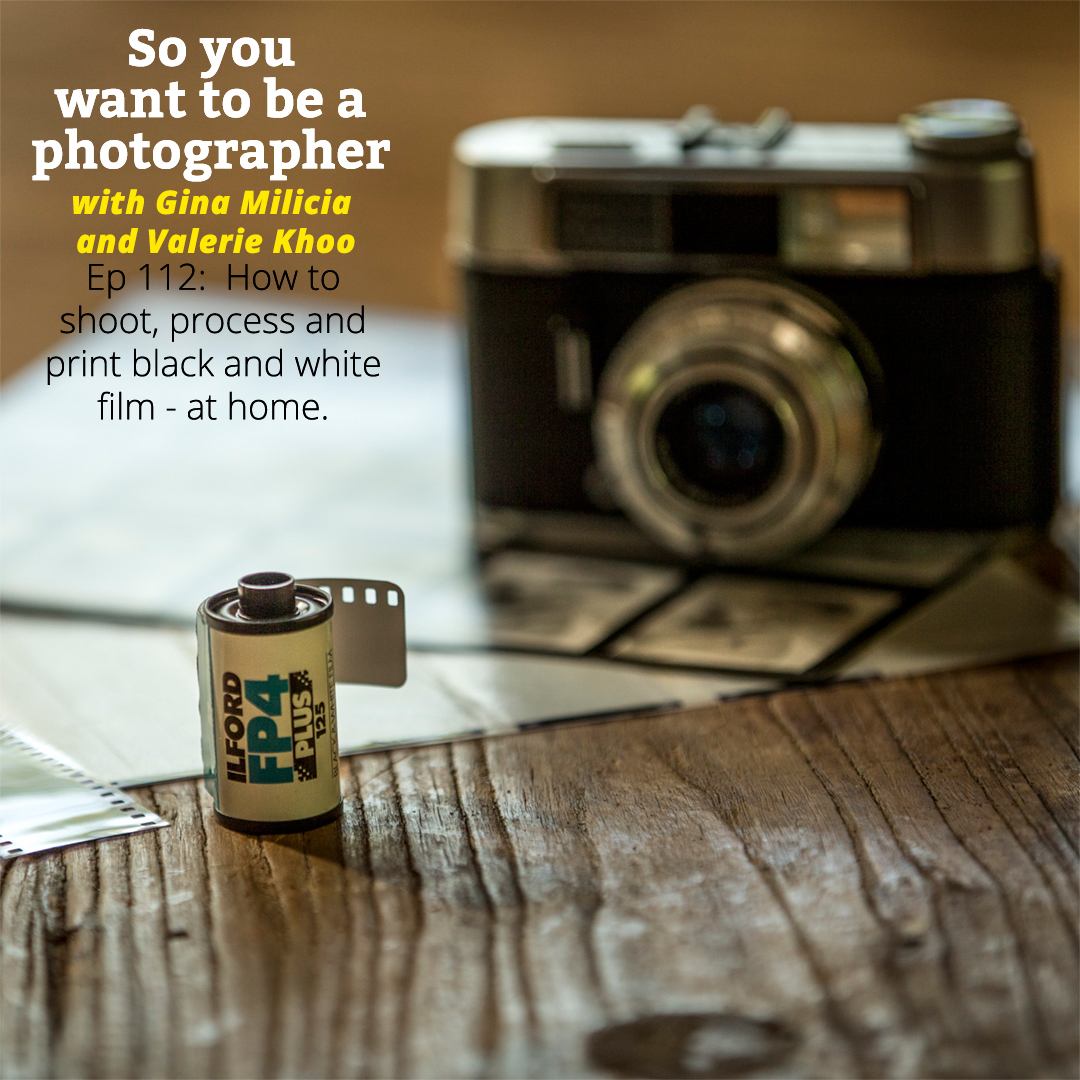
Want to feel like a real photographer by going old school? There’s a LOT you can discover about photography by shooting on film instead of digital. And you don’t have to travel back in time to do it!
In this episode, Gina and Valerie – who both learnt on film – discuss how you can shoot, process and print black and white film yourself. It’s not hard!
Hope you enjoy the podcast.
Sign up to the newsletter for great tips and free Lightroom presets.
Join the dynamic Gold Membership in our Community which delivers monthly tutorials, live mastermind and lots of behind the scenes videos into the creative process.
#ginachallenge #film
Also check out ginamilicia.com/greatoffer
Click play to listen to the podcast or find it on iTunes here. If you don’t use iTunes you can get the feed here, or listen to us on Stitcher radio.
Show notes
Useful Link
Created by photographer Levi Bettwieser, the Rescued Film Project collects orphaned film rolls from the 1930s to the 1990s and develops them for the first time, rescuing lost memories than may have never been seen again.
Film vs Digital
Cost
- Film is expensive to buy and process
- In the years BD (before digital) I averaged $2000 a month in film and lab costs
- Having said that the compliance costs of digital are also costly.
Time
- Time in the darkroom has been swapped by time in front of a computer (also an added cost of digital)
- Many photographers are now trading their $$ savings on film and processing for time spent editing images
- The lost time to digital should be factored into the equation of cost of doing business
Low light
- Digital shites all over film when it comes to low light photography. NO CONTEST.
Detail in the whites and highlights
- Film shites all over digital in this area
Detail in the shadows
- Digital is king here
Convenience
- Digital wins here by a mile
Stress reduction
- Digital is the clear winner. I don’t miss the sleepless nights and agonising waits outside the lab hoping I got the shot.
Detail
- Medium format film is still king here. A good medium format camera is still better than the best medium format digital cameras.
Cost entry
- Film cameras are way cheaper. You can buy a basic point and shoot 2nd hand for $10 an SLR for as little as $50.
Ease of use
- Digital cameras have made photography much easier for everyone.
Health
- Chemicals used to process and print film are bad for us and the environment.
- But sitting in front of a computer all day is also detrimental to health as is constant blue light from computer screens.
The flow
- Constant chimping and pixel peeping has led to a higher level of perfection with digital at the cost of capturing the moment. Often it’s the flaws and mistakes that give an image character.
- Shooting film slows everything down. Each image needs to be considered. When you only have 12 to 36 frames to get a shot more thought goes into each frame.
- Chimping breaks the flow of a session and those priceless in between frames may be missed.
How to shoot with film
- Buy a cheap camera from an op shop for $10
- Buy cheap no frills film for your first few rolls until you get the hang of it.
- Select a 400 ISO film it gives you more options
- I like Kodak Tri X for BW (that’s the film of choice of Cartier Bresson and many photo journalists)
- Kodak Portra 400 for colour (true to life colours)
Load your film
Shoot in auto to start with.
If you want to get fancy and shoot Manual mode a few things to consider are:
- Expose for shadows
- Over expose by ½ to one stop for better detail in the blacks
- Or set your ISO to 200
- Use your camera’s light meter
If shooting in black and white use filters.
- Red makes skies dark and clouds pop.
- Orange filter is nice for skin tones.
Keep detailed notes of each exposure so you can reference them.
How to develop film
Equipment:
- Dark room or change bag to load films
- Tank and film holders (reels) to develop film
- Plastic Mixing jugs
- Thermometer
- Developer
- Stop bath
- Fixer
- Rinse aide
- Pegs or clips to hang film to dry
- A dust free area ( I’ve converted old broom cupboards or used a shower)
- Archival film strips
Processing Black and white film can be done at home. All you need is:
- A bench
- Dark room for loading film or a change bag ( Light proof bag to load film into developing canisters)
- Once film is loaded into light proof container the rest of the developing process can be done in daylight or with lights on
STEP 1: In complete darkness or using change bag
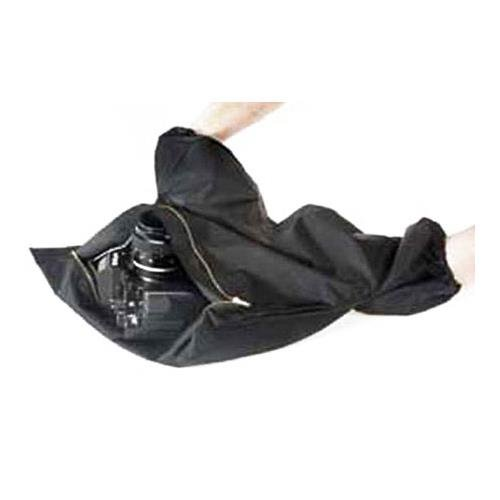
- Hint leave your mobile phone outside for this step because the light from it will damage films
- Remove film from container. The best way to do this for 35mm film is to pop the top with a can opener.
Load film onto reel one roll per reel
Most common are the Patterson canisters. I preferred to use stainless steel canisters and reels because there was less kinking of film and the process felt faster
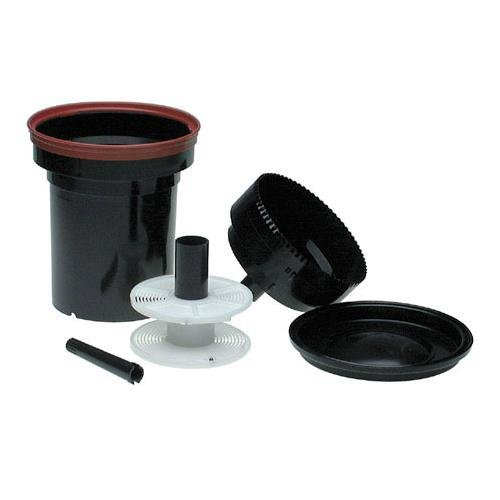
Paterson Universal tank and 2 reels-#115
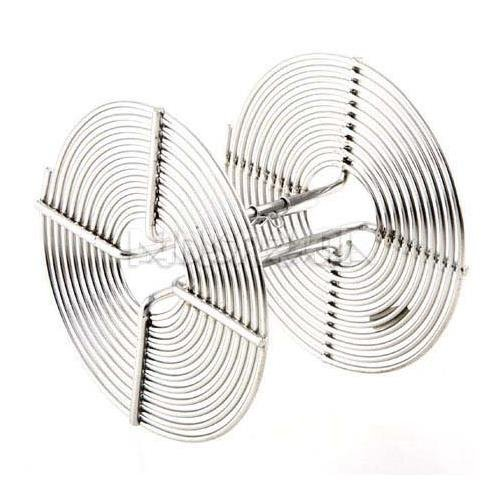
Adorama Stainless Steel Film Developing Reel For 120 Size Film
- It’s a good idea to practise on a dummy roll a few times until you get the hang of it.
- Just buy cheap no name film from a $2 shop to use as your dummy roll.
- Trim the end (tongue) of the film and load it into the spool.
- They are designed to wind into the spool. Check video in show notes for technique
- Once film is loaded put spool in canister and securely close the lid.
- Check this 5 times before you turn on the light!!
2. Get your chemicals ready
- Film chemicals are poison and fumes are dangerous.
- Always work in a well ventilated area and ensure chemicals are kept well out of reach of children and pets
- Wear gloves and a mask.
Mix developer, stop bath and fixer in separate jugs according to instructions
- 1pkt of D76 powder makes approx 4 litres of stock solution
- Pre mix developer 1 day or two before and store solution in airtight container
- The dilution will impact the look of film
- It can be used straight at 1;1 1:2 or 1:3
- The weaker the dilution the longer the developing time
- The longer the developing time the lower the contrast and greater the tonal range
Mix developer, stop bath and fixer to desired dilution and warm mixture till it reaches 20 degrees C
I place jug of solution into another jug of boiling water and wait until it reaches the right temperature
- Set your clock and start it when tank is full.
- Gently tap the container a few times to remove any air bubbles
- Gently agitate your films for 20 secs out of each minute
- Agitation or rotating the film canister is an important step
- Shaking or roughly processing film increases the size of grain
- When timer goes off or 10-15secs before pour chemicals into a spare container not down the drain!
3. Add stop bath to the container. Gently agitate for 20 secs let sit for 30 repeat for 2mins
Tip solution into a spare container
4. Add fixer bath to the container. Gently agitate for 20 secs let sit for 30 repeat for 2mins
Tip solution into a spare container
5. Rinse film using running water at 20 degrees for ten minutes
Finish with a few drops of rinse aid, this helps the film dry without creating watermarks
6. Hang film in an old cupboard or shower using a string and peg at the top and one at the bottom of the film.
- Use a water filter
- Dry film slowly (don’t make the same mistake I made!)
- a squeegee can remove excess water but in my experience usually adds scratches so avoid this stage and just wait until the film is dry
7. Once film is dry cut it into strips of six and store it in archival film sleeves.
Printing images from negative
The easy way
- Scan negatives and print from home
- Many professional labs offer film scanning services
The Macgyver way
Equipment needed
- Enlarger
- Paper
- Trays
- Tongs
- Developer
- Stop (same as for film)
- Fixer (same as for film)
- Easel
- Darkroom
- Safe lights
Beseler Printmaker Darkroom Kit
- This process needs to be done in a dark room under safe lights
- Safe lights are red or yellow.
- A bathroom or laundry with block out curtains works.
Want the film look without the hassle? I’m giving away a free TRI X look Lightroom preset
In next week’s newsletter.
Gold members will receive my “Bringing sexy back” Film presets pack and a tutorial on how to get the filmlook with digital images.

