Product photography is even more popular and in-demand than ever thanks to the exponential growth in online shopping and marketing. In this episode, you’ll discover a comprehensive introduction into the world of product photography, how you can get started and what you need to know about the different styles of shooting.
Gina and Valerie hope you enjoy the podcast.
Sign up to the newsletter for great tips and free Lightroom presets.
Join the dynamic Gold Membership in our Community which delivers monthly tutorials, live mastermind and lots of behind the scenes videos into the creative process.
Connect with us on Instagram @valeriekhoo @ginamilicia
Click play to listen to the podcast or find it on iTunes here. If you don’t use iTunes you can get the feed here, or listen to us on Stitcher radio.
Show Notes
There are different styles of product photography:
- Catalogue
- Advertising
- Lifestyle
Catalogue
- Simple photography that shows exactly what the product looks like
- Products should be sharp all the way through so consumers can zoom in and look at stitching etc
- Colour also needs to be accurate.
- Products are cleanly lit, often on a white background
Advertising photography
- This is where things get creative. You’re selling a dream not the product.
- Aspirational
- High end
- High production
- 1-3 days to create a shot
Lifestyle
A lifestyle brand tries to sell an image and identity, rather than a product. They want people to associate their brand to a certain lifestyle. When lifestyle brands advertise, they tend to focus on what kind of person would buy the product, rather than the product itself.

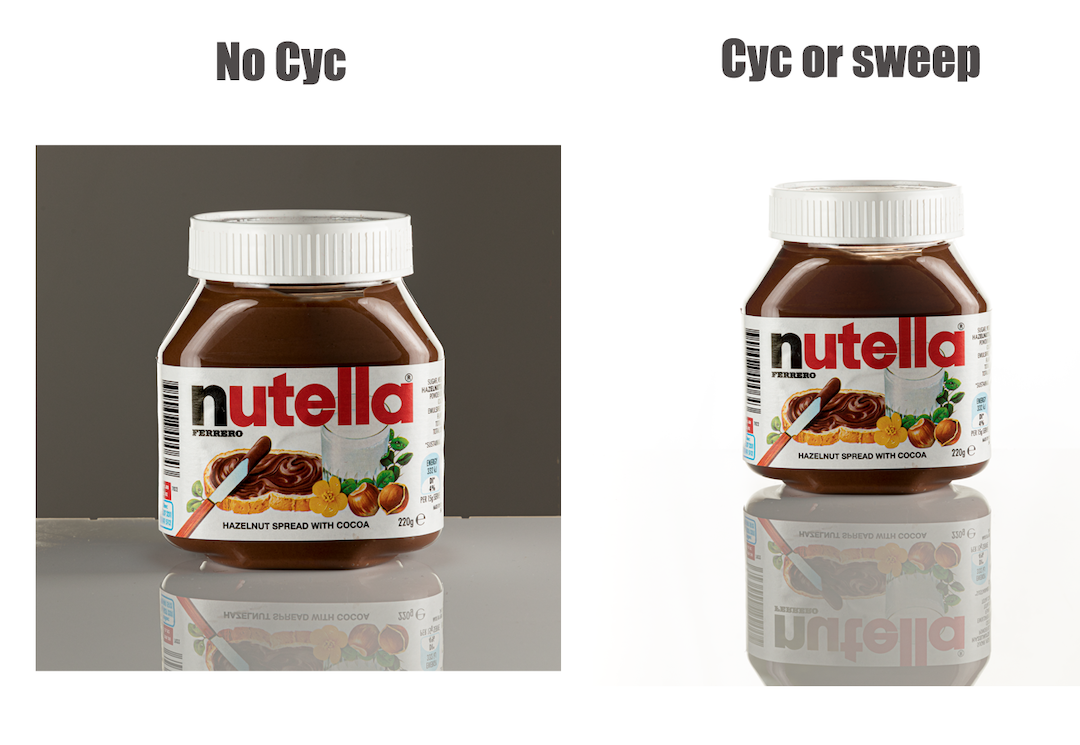
Catalogue
Cyclorama: large curtain, wall, paper, plexiglass formed into a concave sweep
The advantage is there are no edges where wall meets floor, these can be distracting
Getting started
Camera Gear
- DSLR/Mirrorless/smartphone
- Tripod
- Reflector
- Continuous lights
- Macro lens 100mm
Accessories
- Roll paper or plexiglass/perspex or light tent for smaller products
- Blu Tack
- clamps/pegs
- Glue Gun
- Blocks
- Black and white card
- Makeup mirrors
- Fishing line
- Steamer or iron
- Mannequin
- Cleaning alcohol
80% prep 20% execution
- Spend the time getting the lighting right in camera
- Get rid of labels
- Line everything up so it’s square
- Work the shot
- Watch out for dust etc
- Clean this in pre-production not post.
Props and styling
- Keep props simple or invest in a good stylist. This is the difference between meh and amazing
- Collect props/timber//wall paper/ textures that help tell your story
Product photography background suggestions
- White Background
- Black Background
- Bokeh
- Textures-timber
- Wallpaper
- Fabric
Focus Stacking
Final merged image
- Use a tripod
- Compose and expose image using manual mode
- Focus on front object
- Take the first exposure.
- Without moving the camera or changing any settings, move the focus point to focus on a different part of the image
- Repeat this focus and shoot process until you’ve covered all focus points across the image
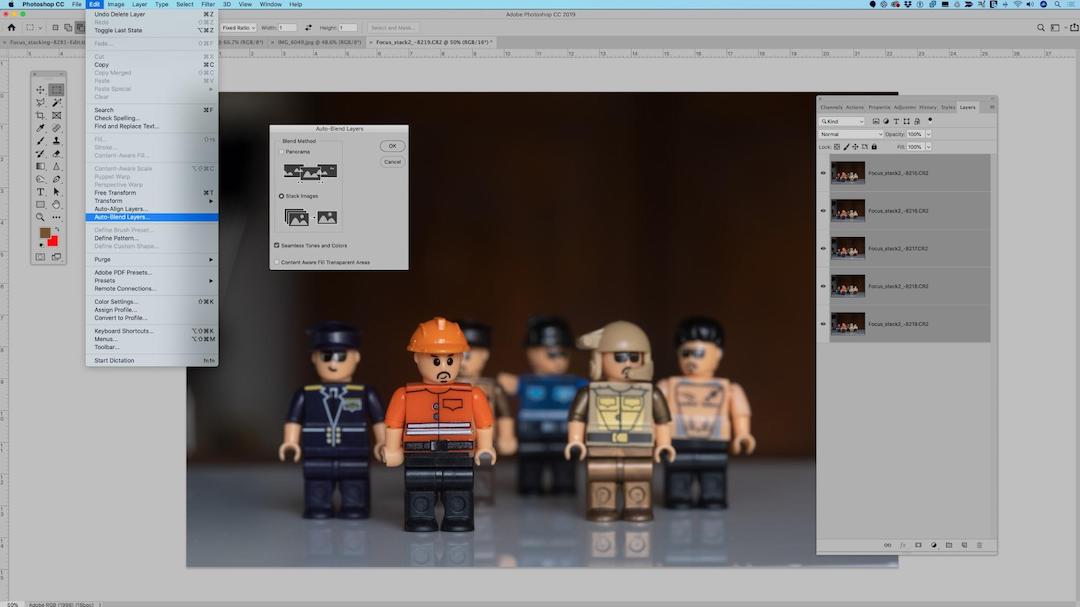
- Open Photoshop
- File>Scripts >Load files into stack> Browse and select all the images.
- images will open into new layers in Photoshop.
- select All Layers.
- Edit>Auto align layers
- EDIT>Auto Blend layers
- Check
SINGLE LIGHT PRODUCT SHOOT
Multiple exposures
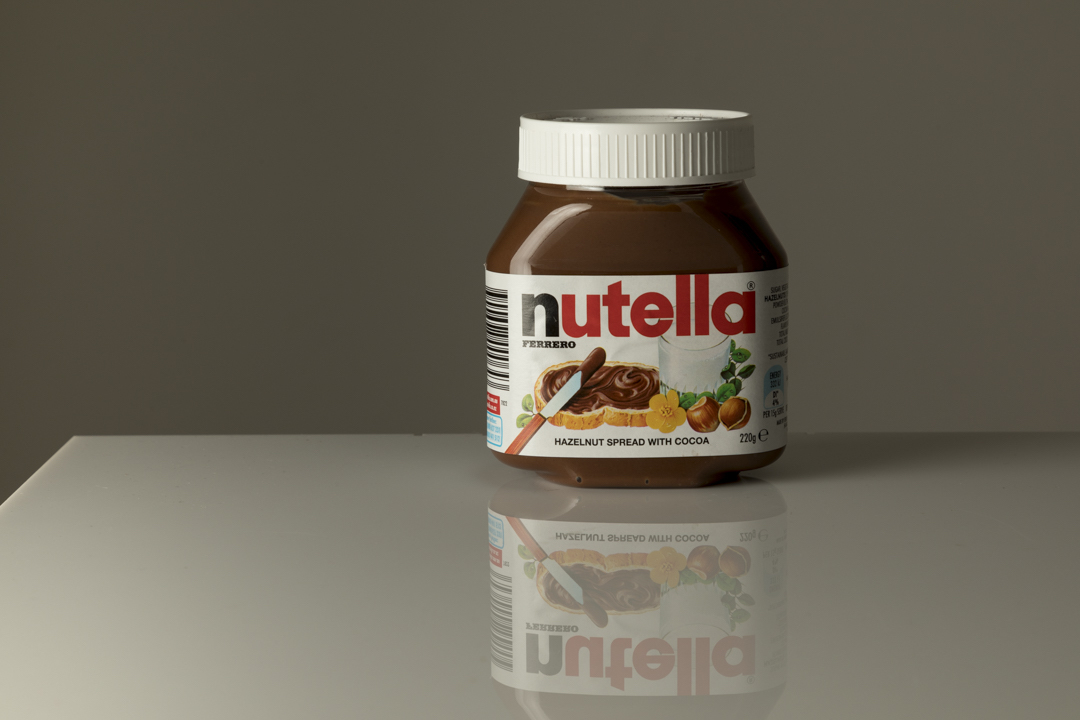
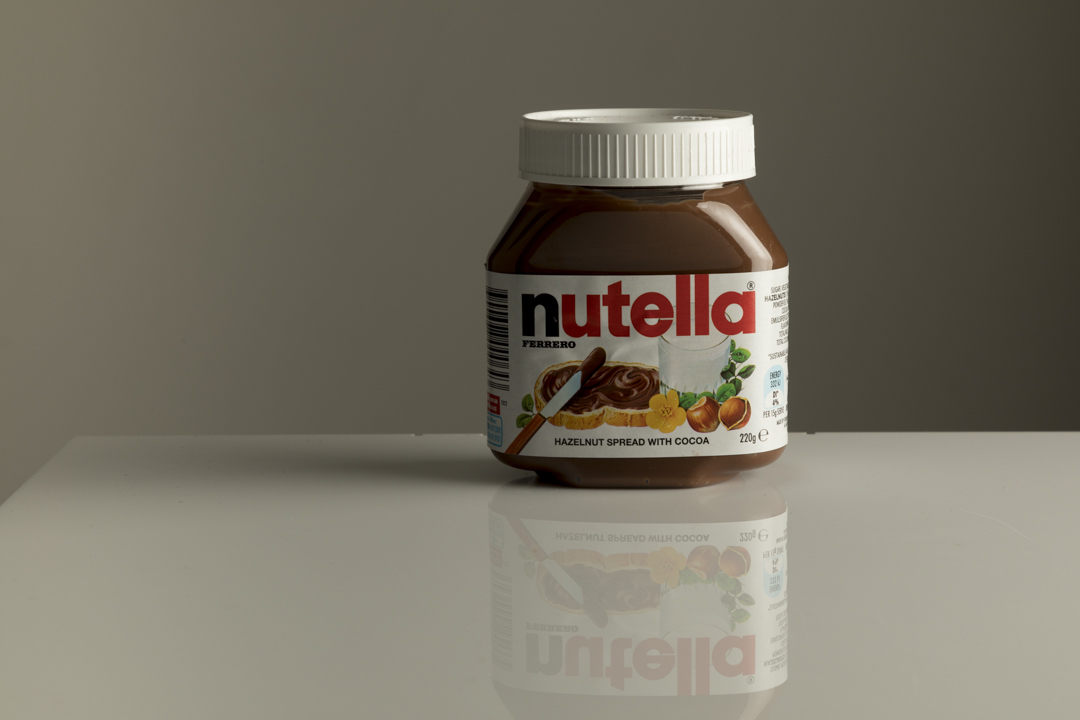
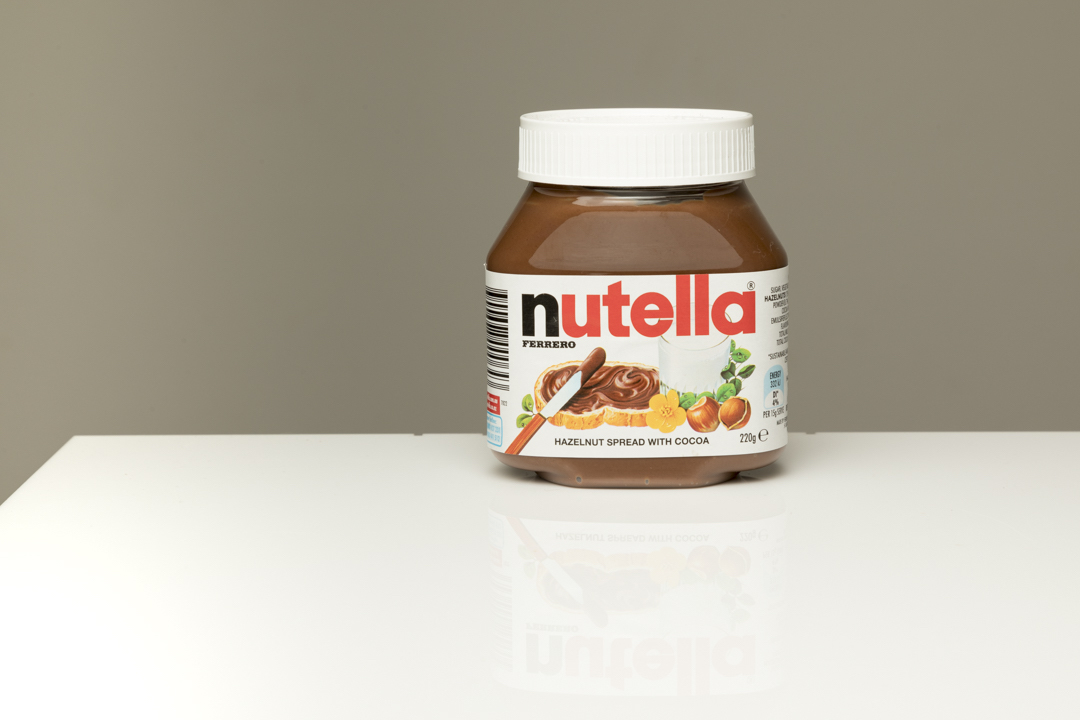
Nutella Shot
- Settings
F16 ISO 100
SS 1/200th secs Compose your sot - Focus and then lock focus by turning AF off
- Create a base exposure
- Shoot multiple images of sides, back and top of product
- Merge images in photoshop using blend mode lighten
- Mask out unwanted details
Below are some super quick examples.
Light source Godex AD 200 + Large Octa using flash
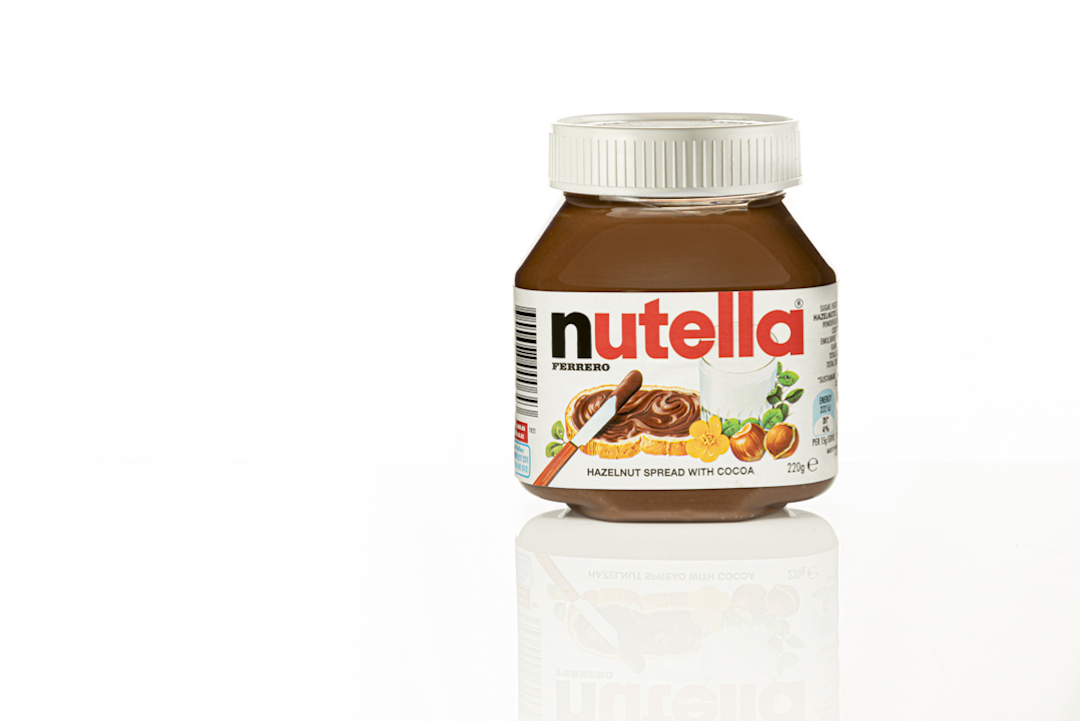
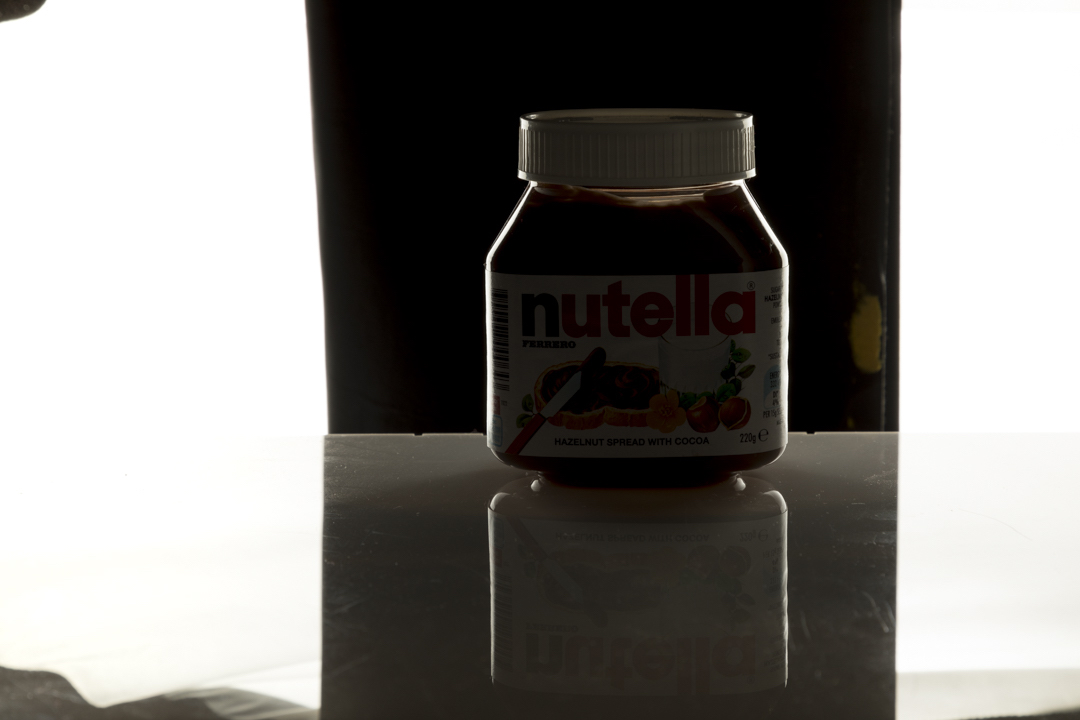
Open files as layers in photoshop
Blend mode Lighten
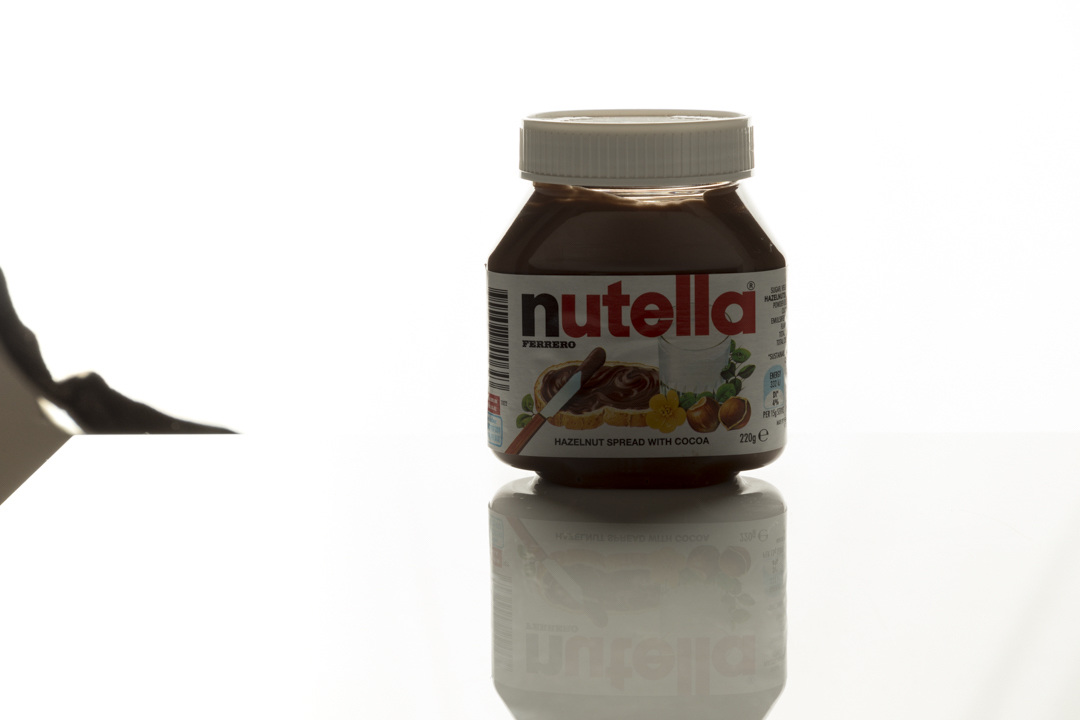
DIY LIGHTING TENT
Light tents are a great way to get started with product photography. You can buy one or make your own using white paper.
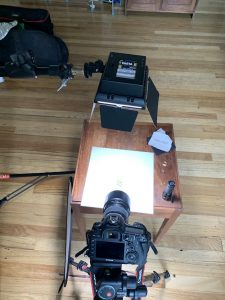
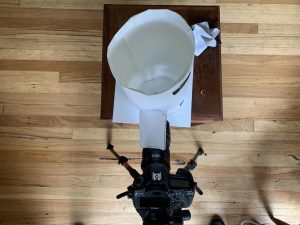
DIY Lighting setup
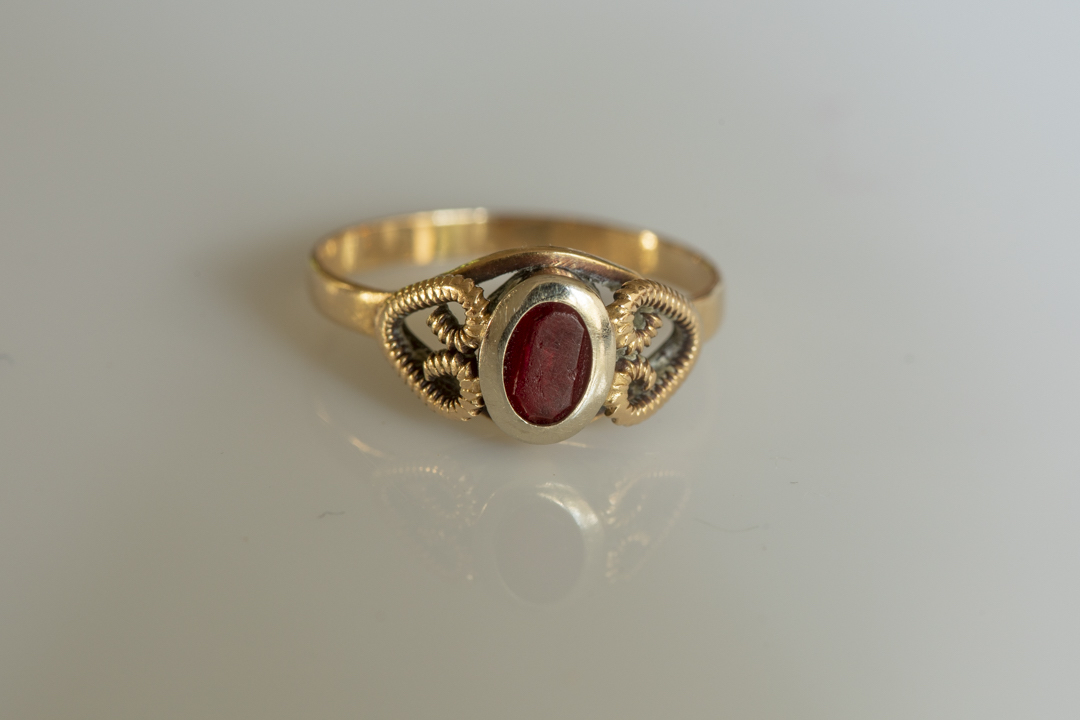

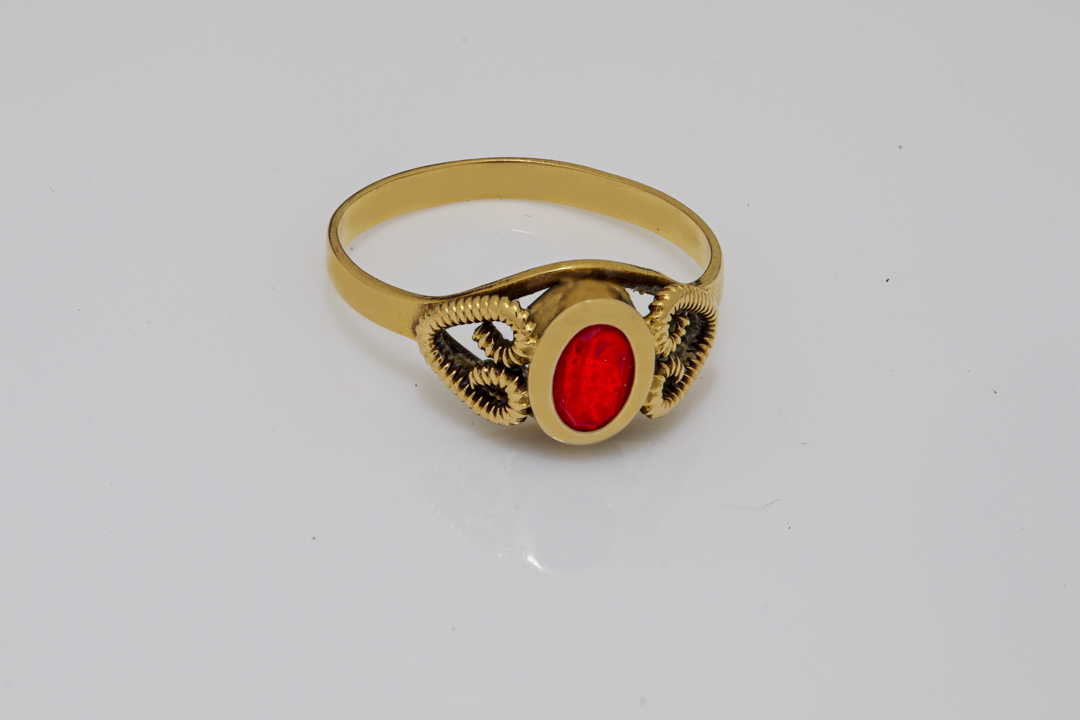
Image combined using DIY light tent, focus stacking and light painting.

